01
Install
Drag the NexBake .zip into Blender. Keep Enable Add-on ticked and press OK. A NexStudio button appears at the right of the top bar.
NexBake · Tutorial
Watch one full bake in Blender, or follow the steps below.
The MP7, from install to exported maps.
Drag the NexBake .zip into Blender. Keep Enable Add-on ticked and press OK. A NexStudio button appears at the right of the top bar.
Click NexStudio › Account › Sign in, then approve the code in your browser.
In the Account card press Redeem licence key, paste your key and press Redeem, then Link and activate. The card says Licence active.
Click NexStudio › NexBake. The NexBake workspace opens.
In the NexBake Outliner, drag your low poly collection from Scene onto Low. It needs a UV map. For one mesh, + Add Low Poly › From Scene… works too.
Drag the high poly collection onto High. Pieces pair by name, Muzzle_low with Muzzle_high, and Bake turns blue.
Tick the maps in Mesh Map Bakers. In Common Settings set Output size (here 4096) and Antialiasing (Subsampling 4×4).
Press Bake at the bottom of the 3D view. Baking Process lists each map as it finishes. The MP7, 40 maps at 4K: about 4 minutes on an RTX 3080 (the clip is sped up).
Turn off 3D Overlays to see the maps on the model, then press 2D to see them flat.
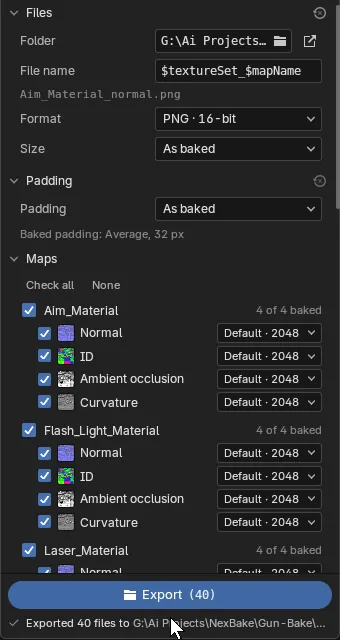
Open Export Textures, check Folder, File name and Format, then press Export.
What the settings in the steps do.
Size, antialiasing and dilation are in Common Settings › Output:
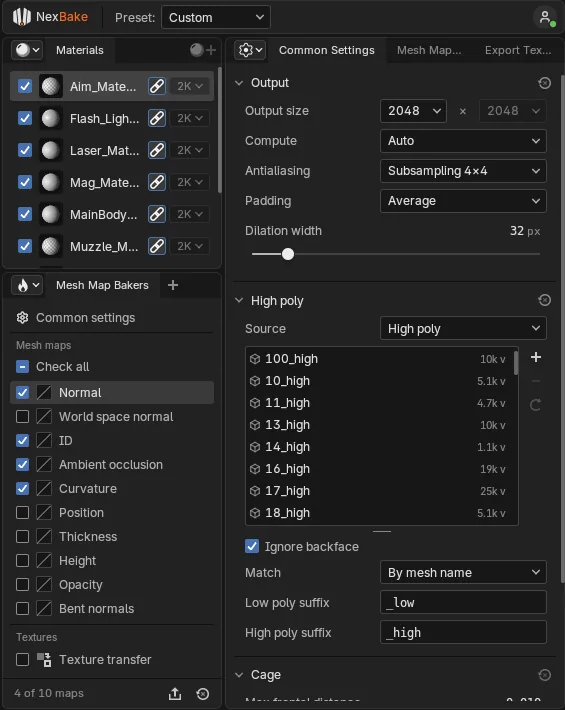
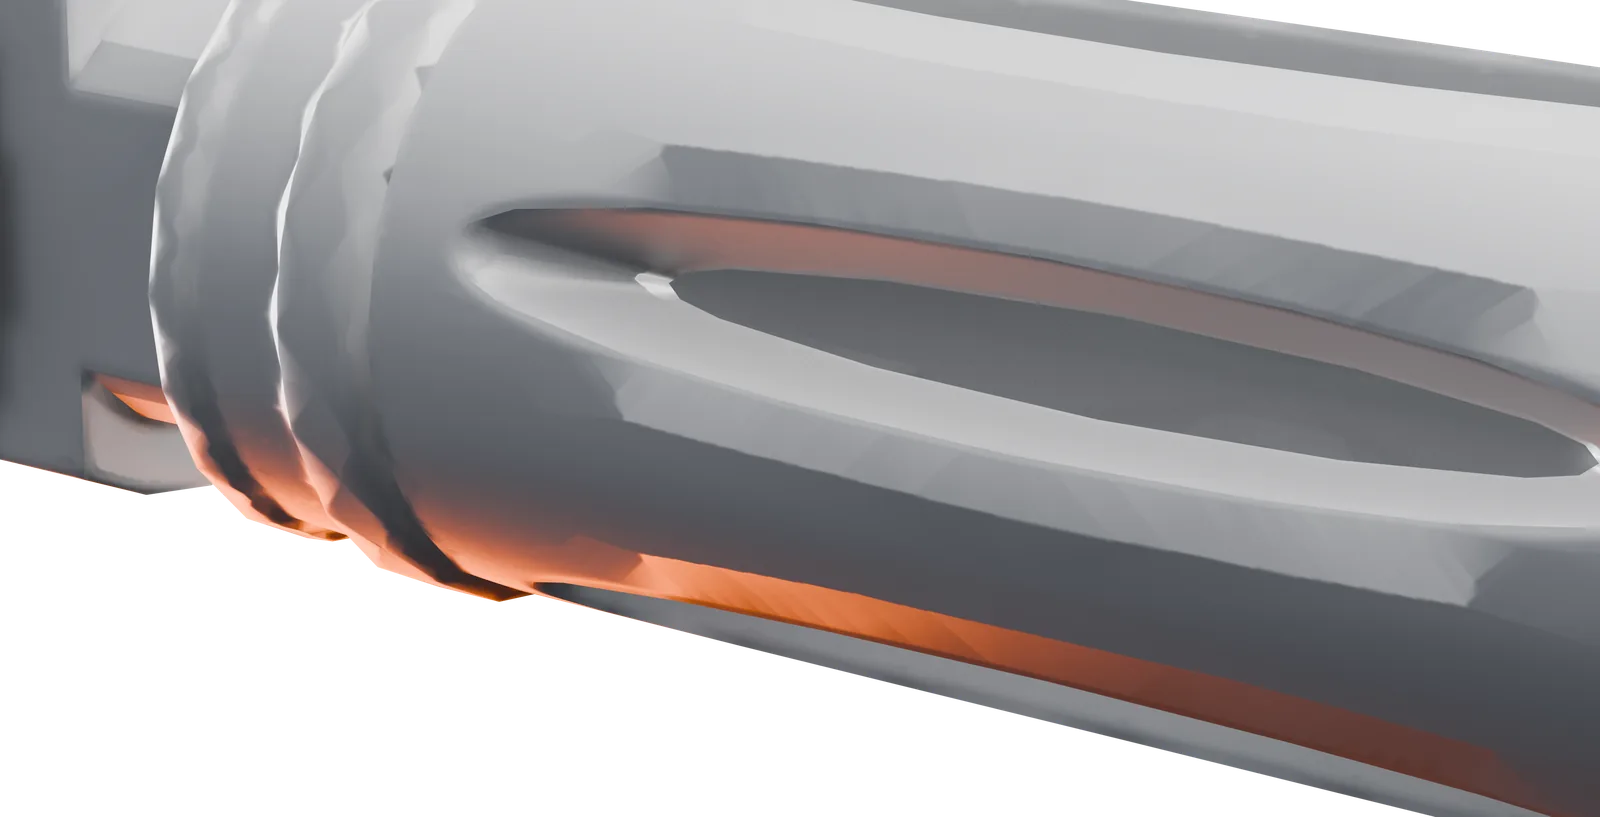
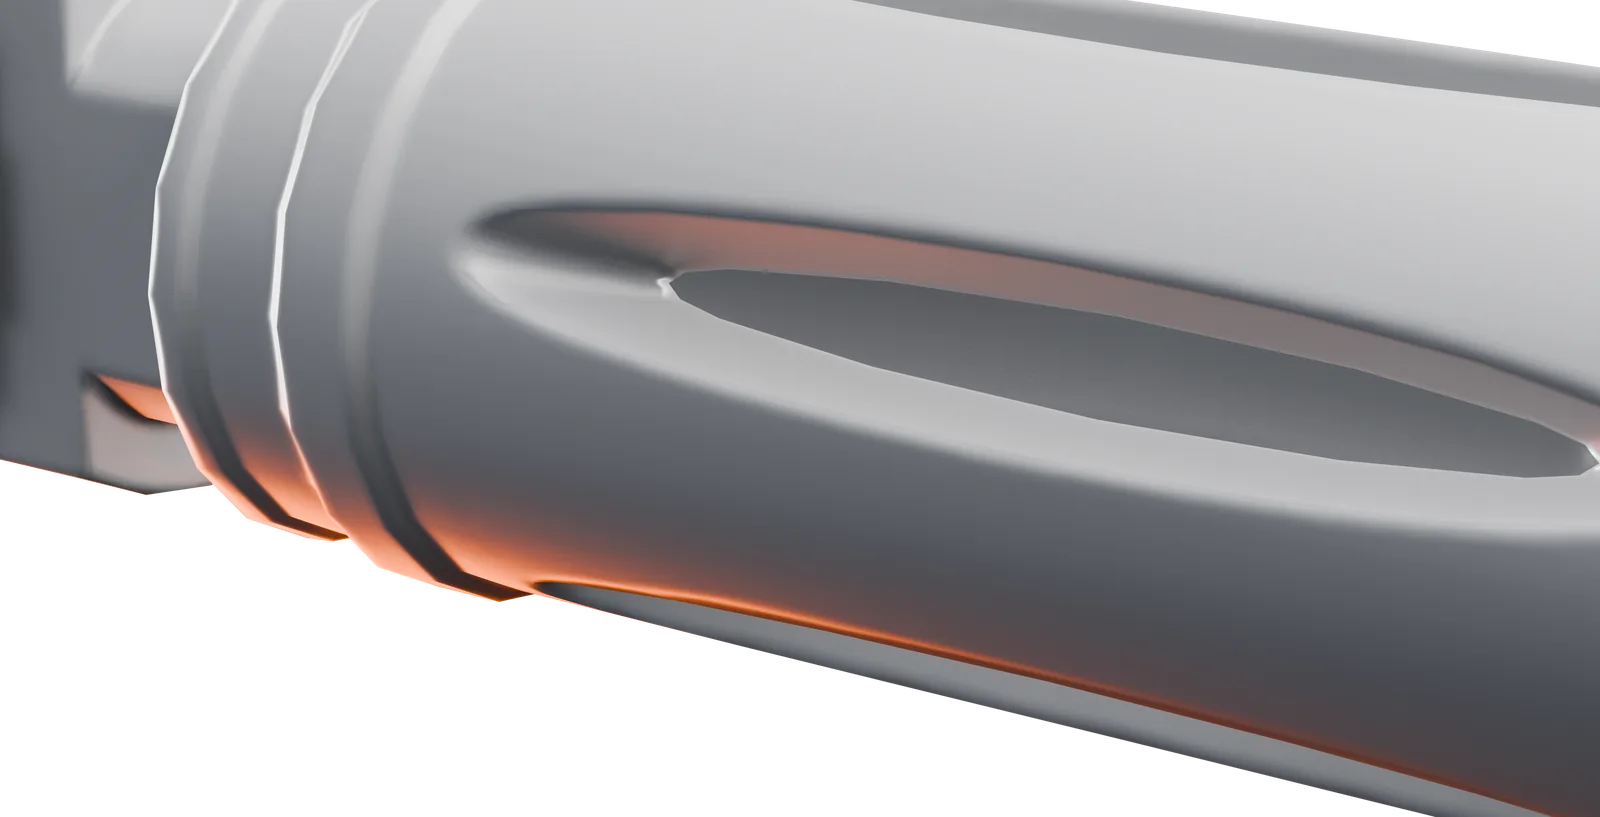
Rays start on a cage just outside the low poly. Max Frontal Distance and Max Rear Distance (default 0.01) set how far out and in they search. With Relative to Bounding Box on, 0.01 is 1% of the bounding box diagonal, so one value fits a small part and a large one.
Average Normals keeps the cage closed over hard edges.
Each material on the low poly is a texture set with its own maps and size; the MP7 has 10. A texture set can span UDIM tiles.
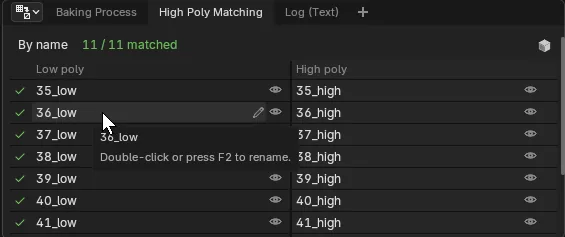
With Match: By Mesh Name, grip_low bakes only from grip_high. Set the suffixes in Low Suffix and High Suffix. High Poly Matching shows every pair; all 95 MP7 parts paired in place.
Maps stay in the .blend until you export them. Export Textures writes PNG or TIFF at 8 or 16 bit, EXR at 16 or 32-bit float, TGA and JPG.
File Name is a pattern such as $textureSet_$mapName; UDIM tiles add their number. Auto Export writes each map the moment it finishes.
Ten mesh maps, all from one job. Below, the MP7's laser module as each map stores it.
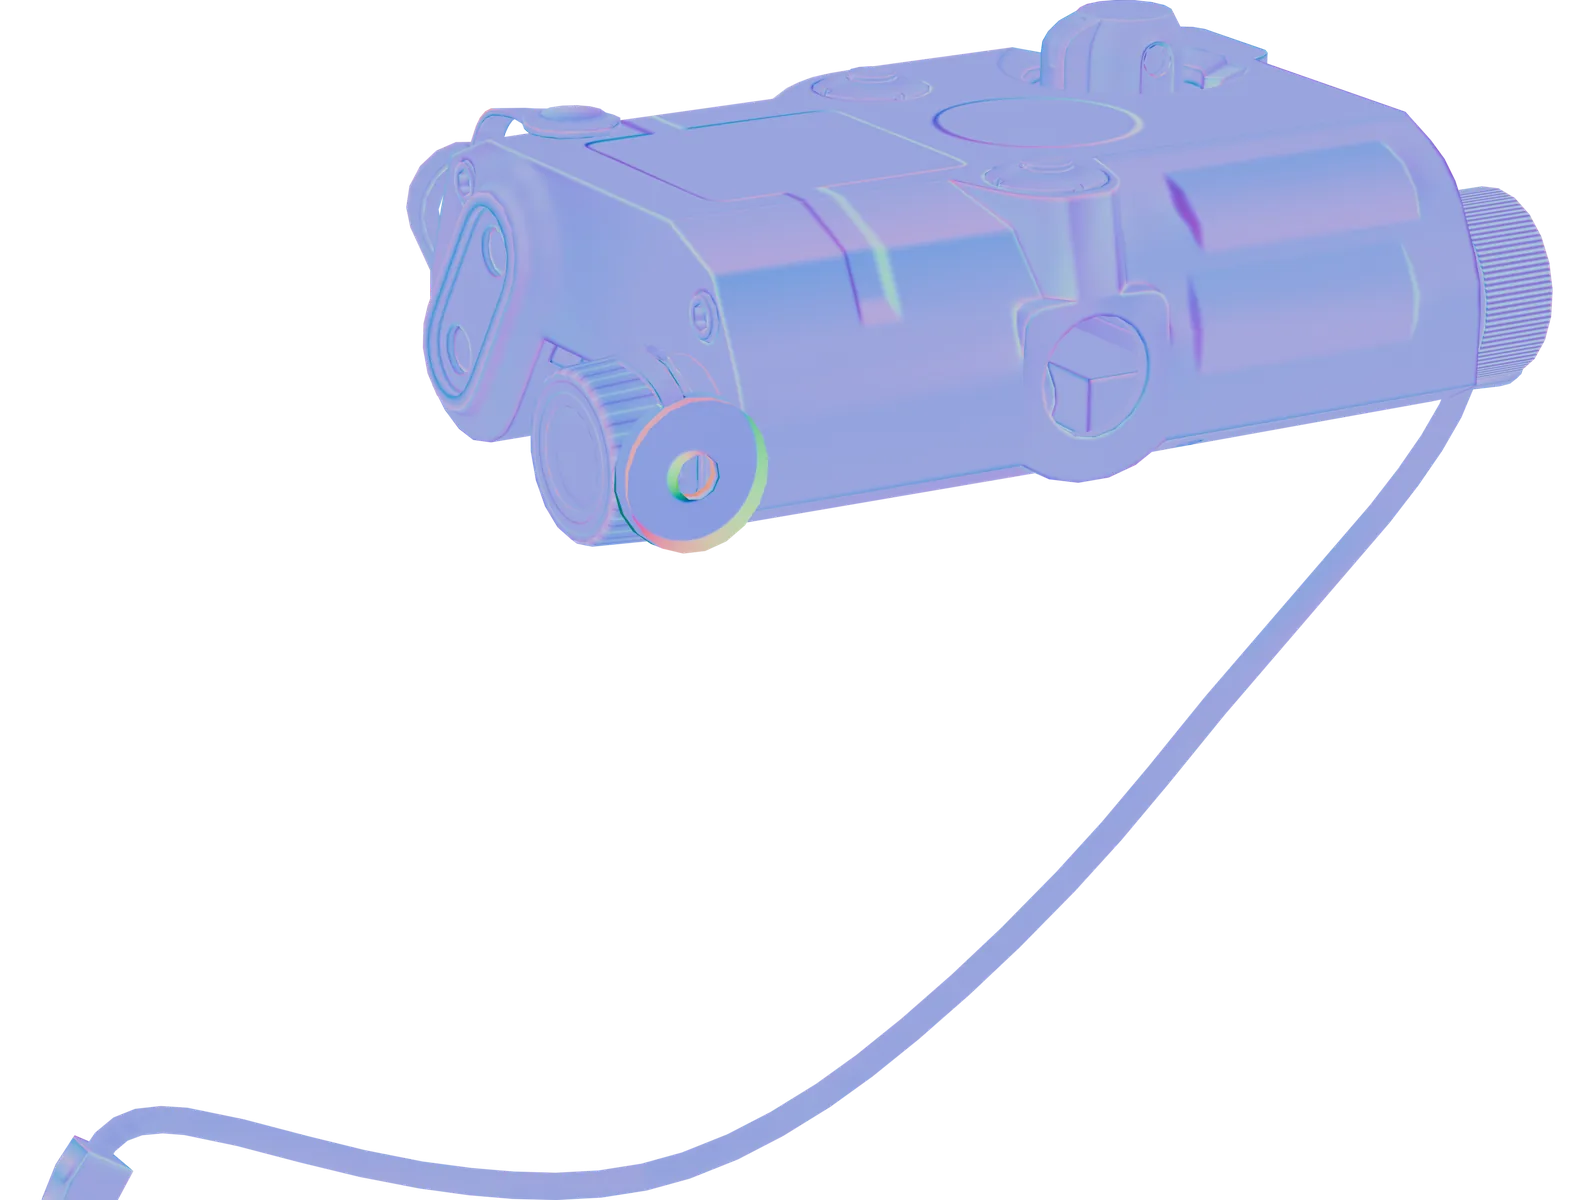
Which way the high poly faces, against the low poly's own surface. Light reacts to detail the low poly does not have.
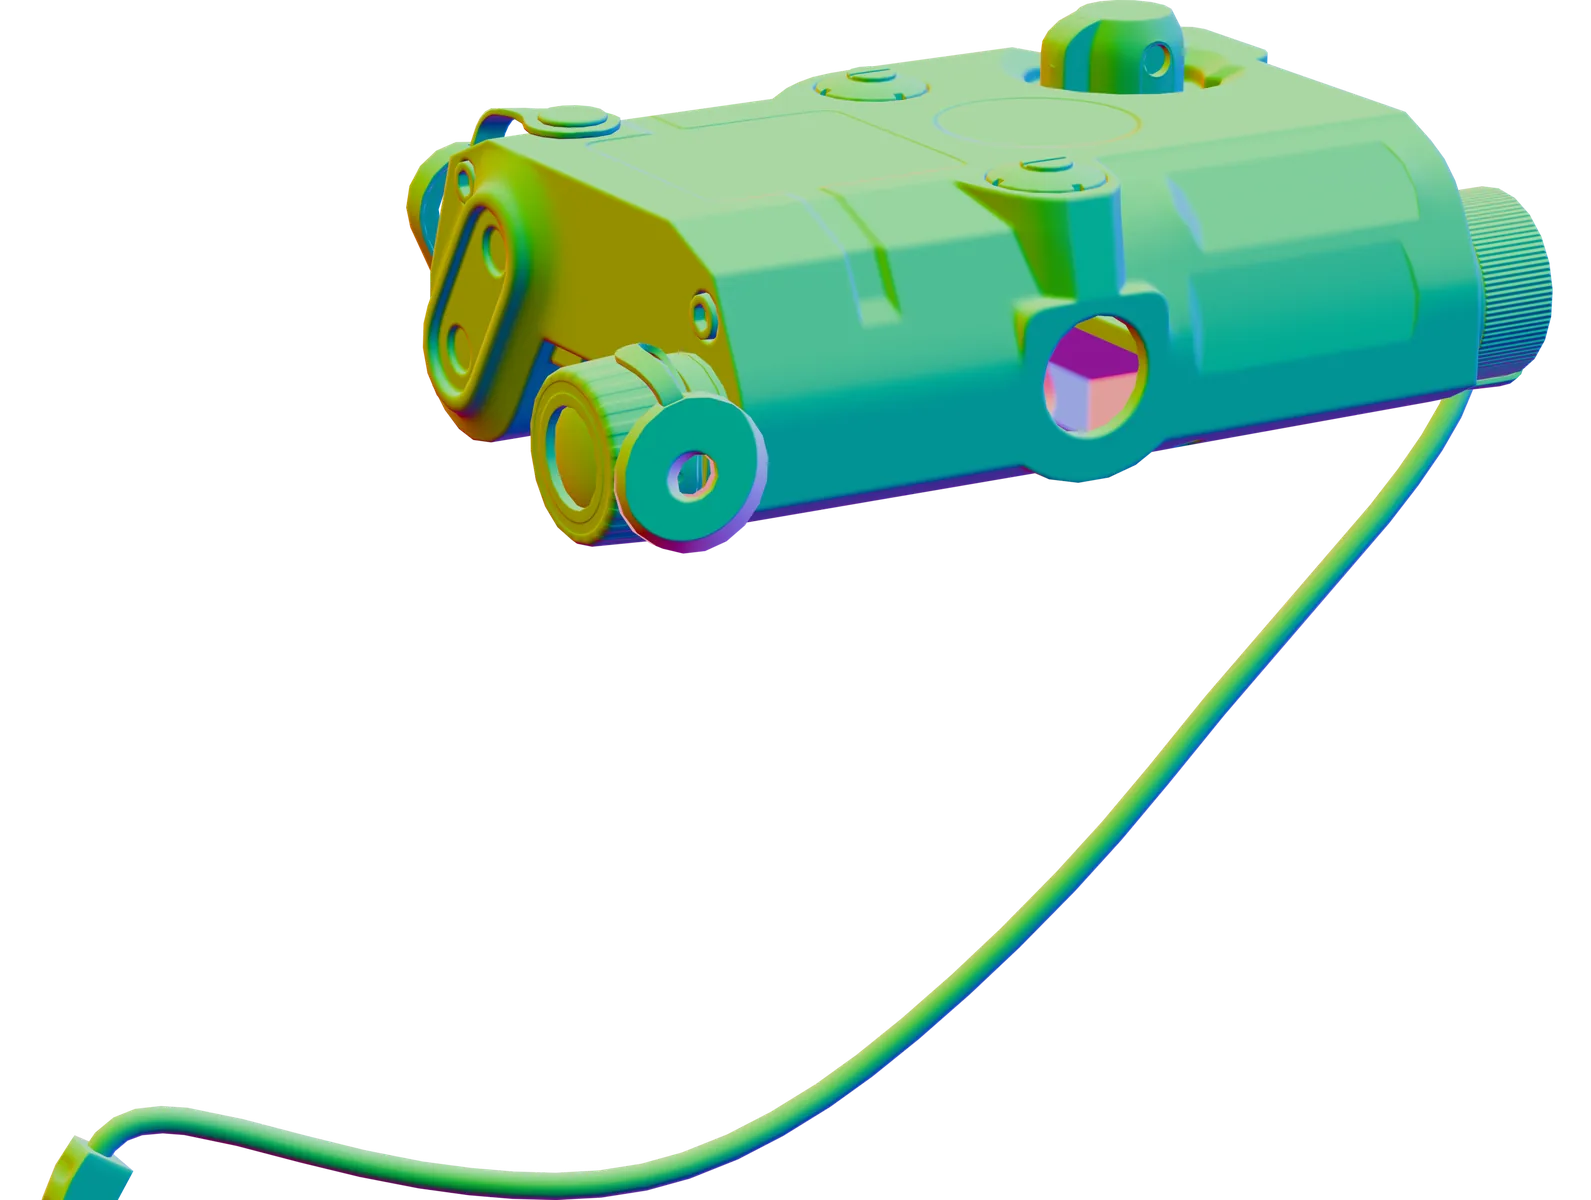
The same directions against the world's axes. For dust from above or snow from one side.
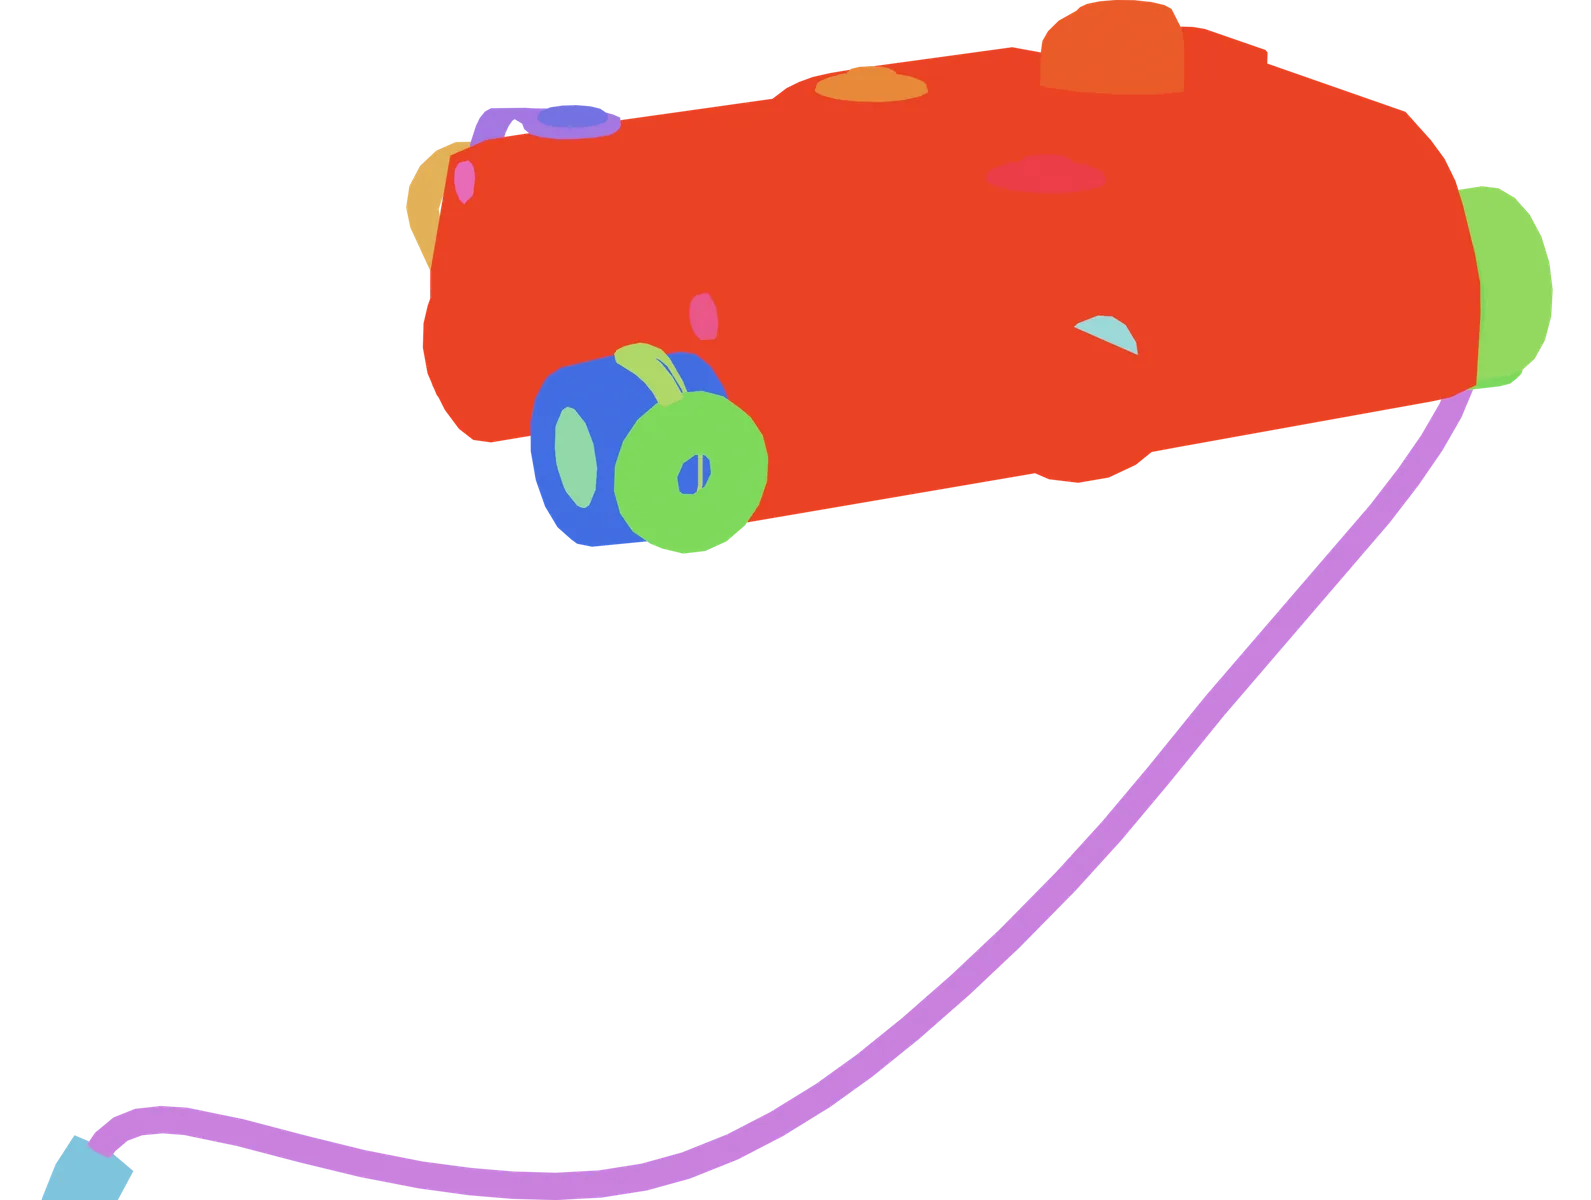
Flat colours per object, piece, polygroup, material or vertex colour. A one-click selection for texturing.
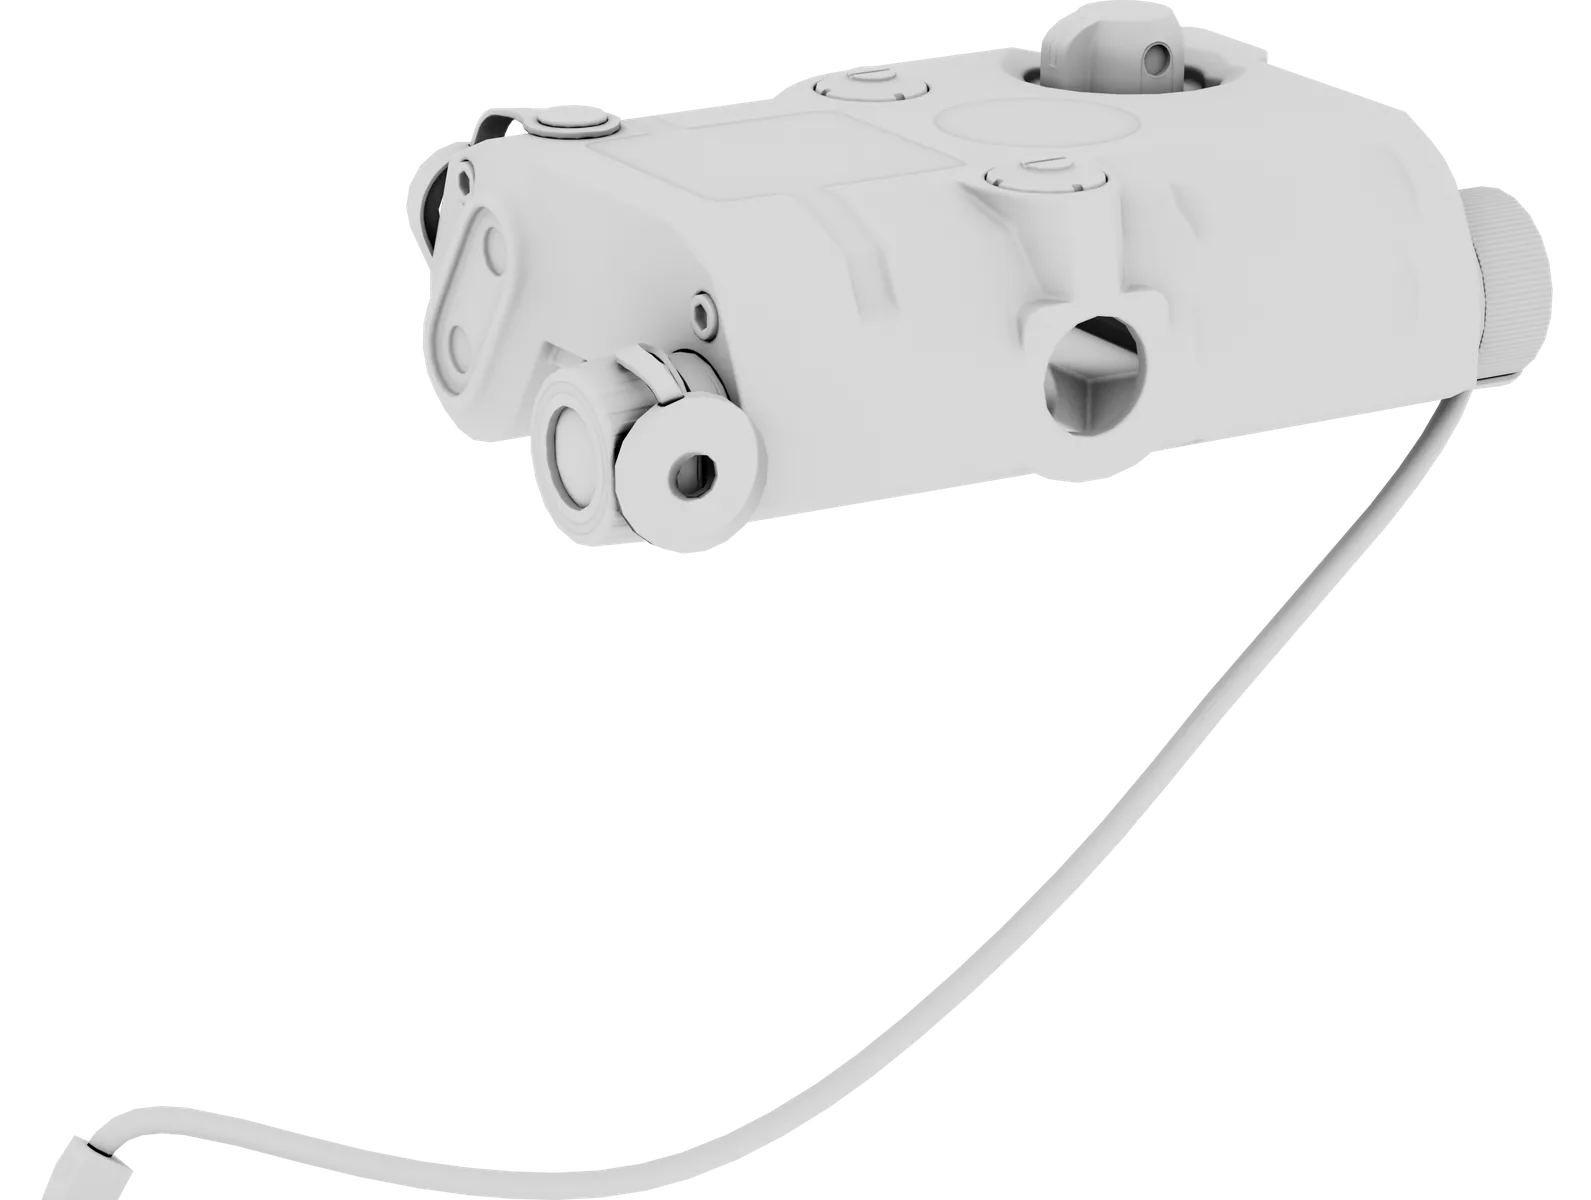
Where ambient light is blocked. Contact shadows and a base for grime masks.
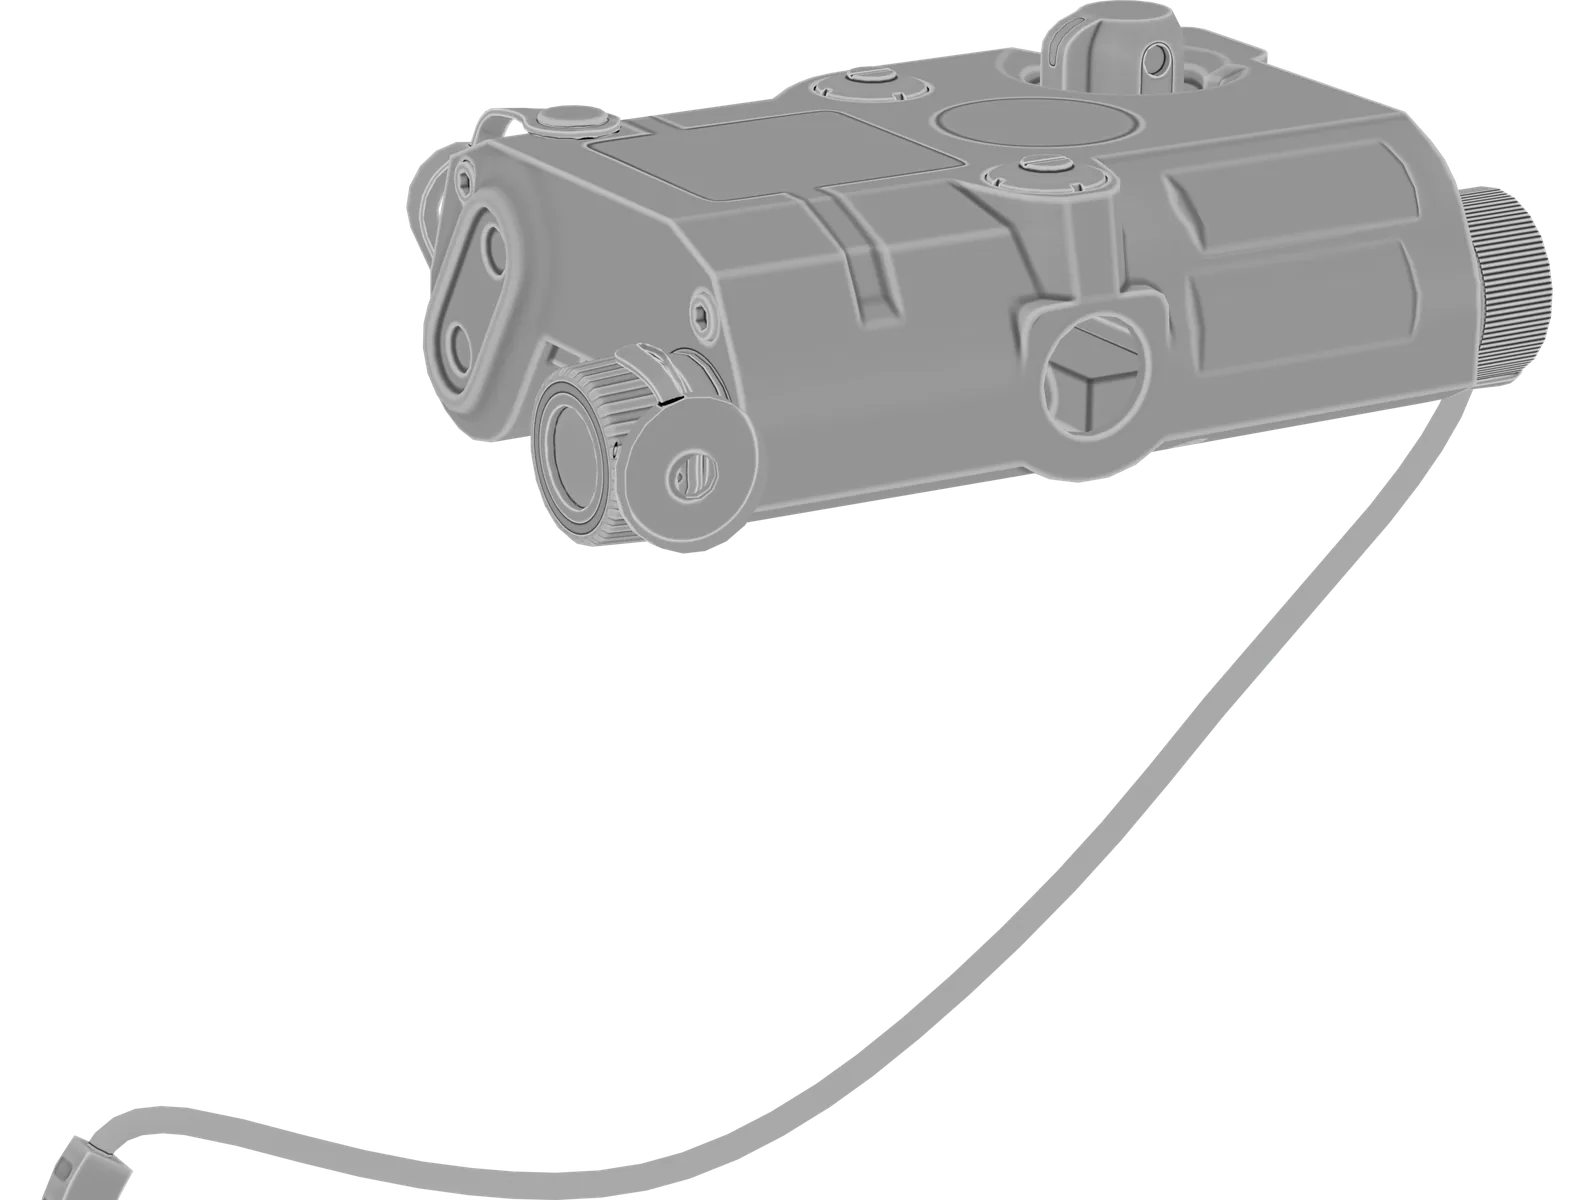
Convex edges light, cavities dark. Drives edge wear.
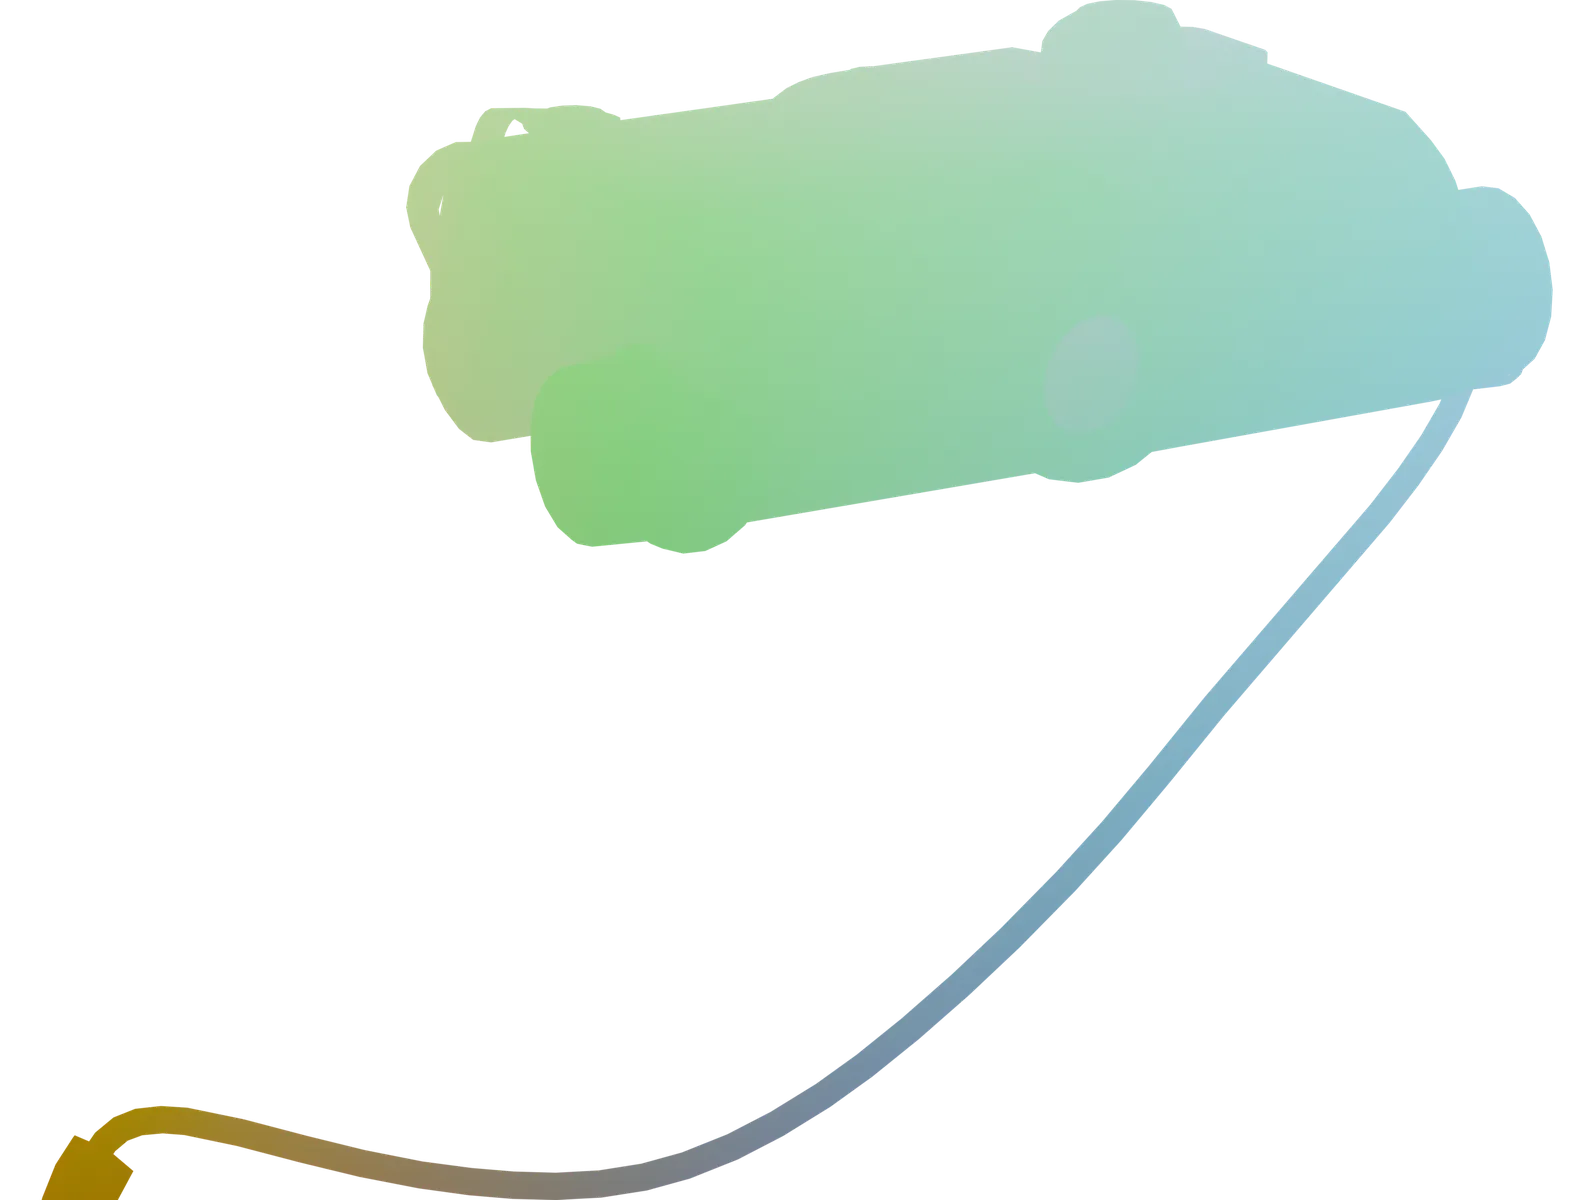
Where each point lies in the bounding box. For gradients across the whole object.
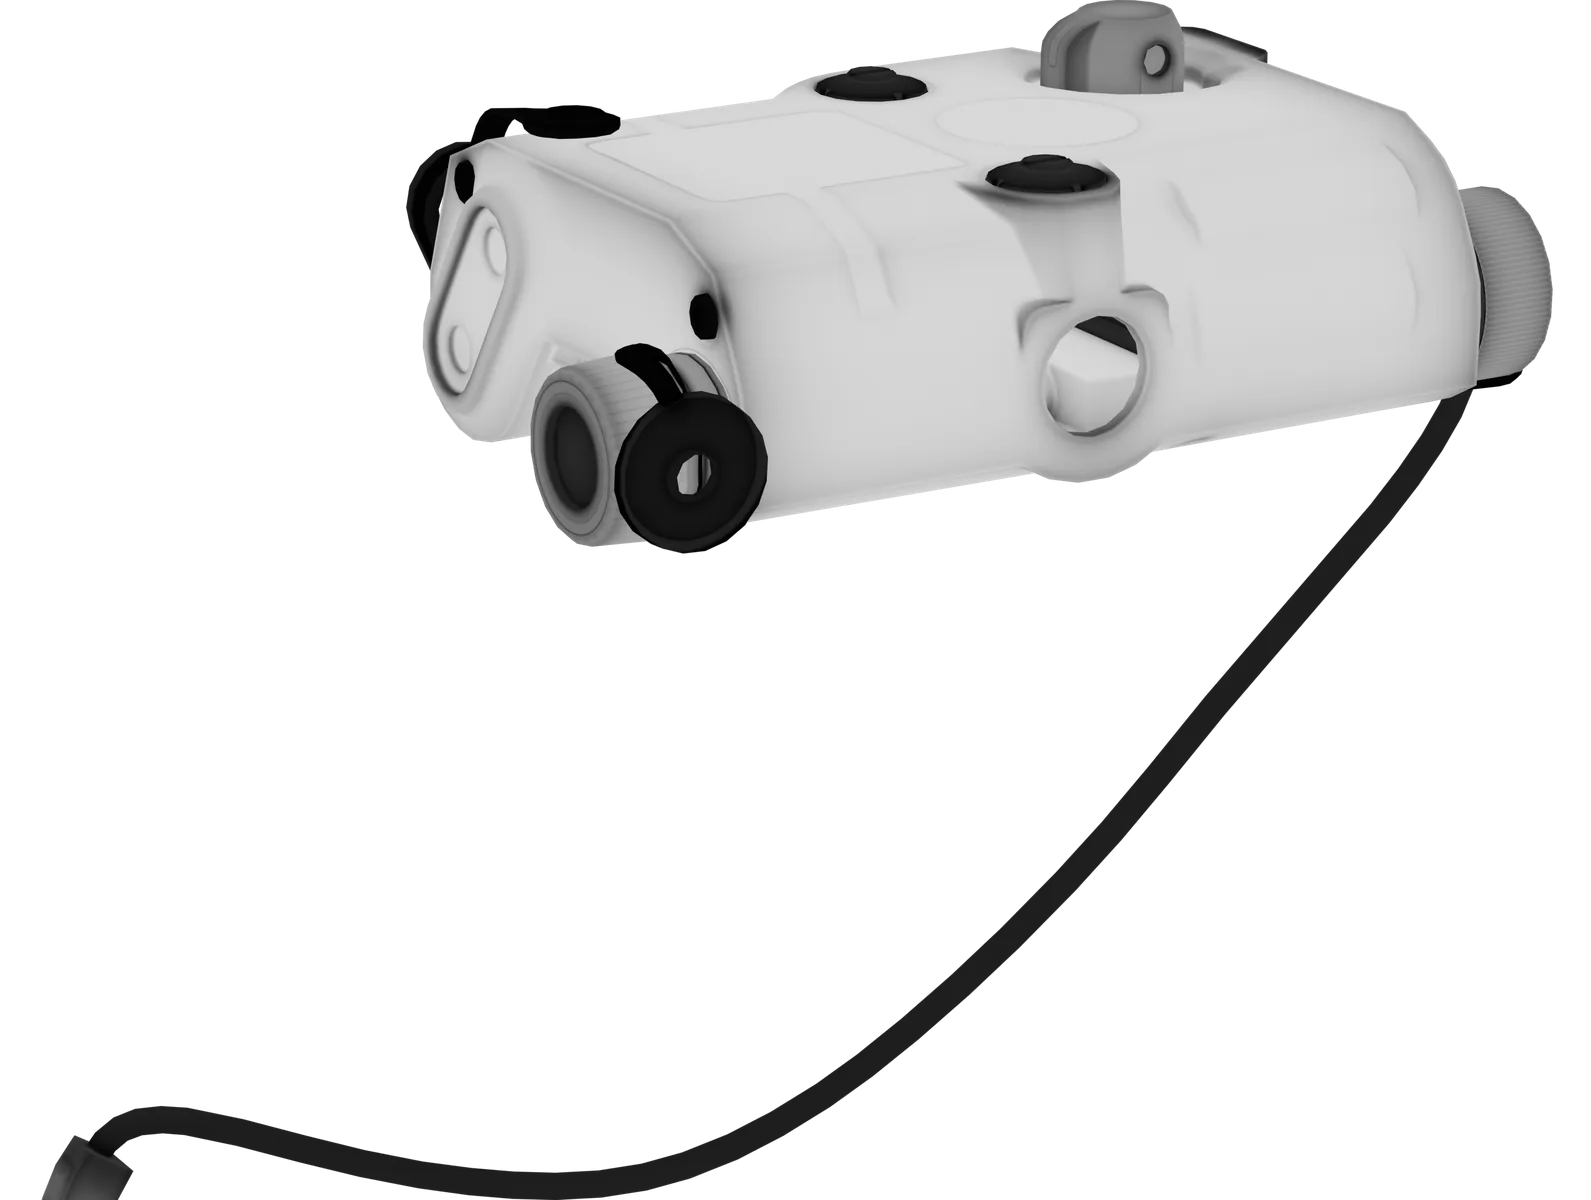
How much mesh lies behind each point. For subsurface and thin-edge masks.
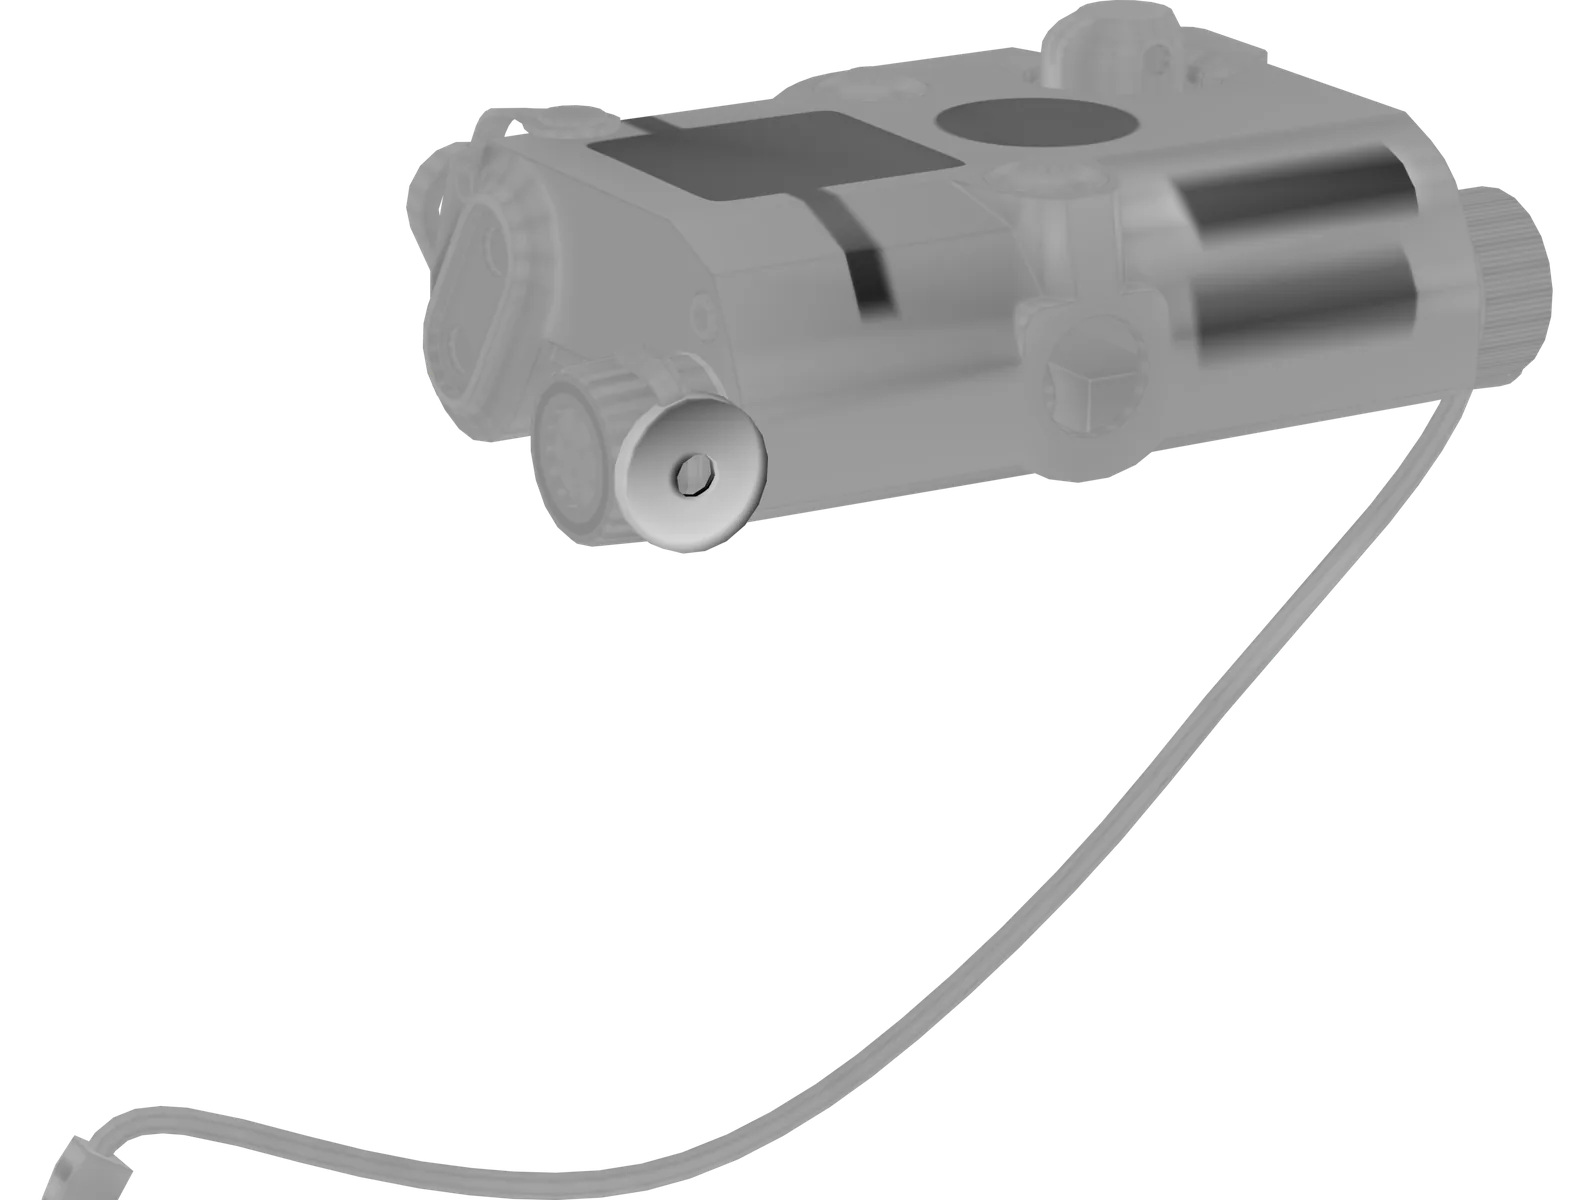
How far the high poly sits above or below the low poly. For parallax and raised-detail masks.
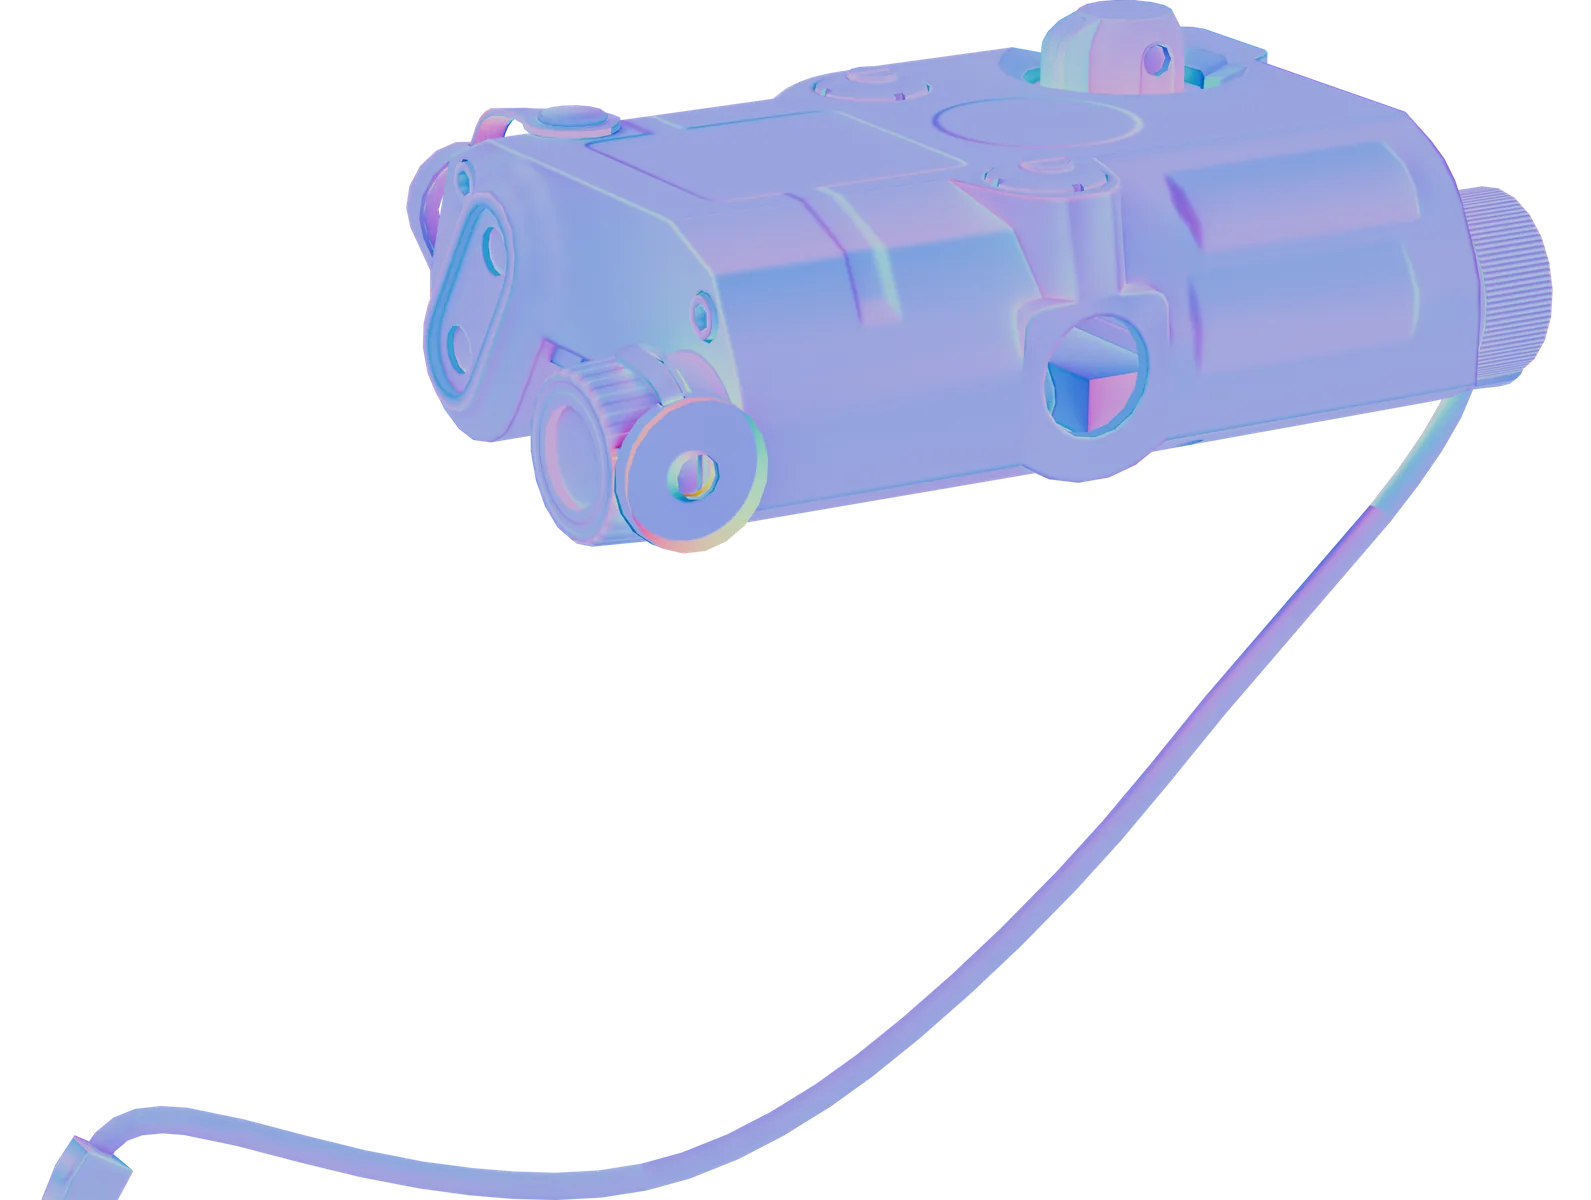
The most open direction at each point. Gives occluded lighting that follows the light.
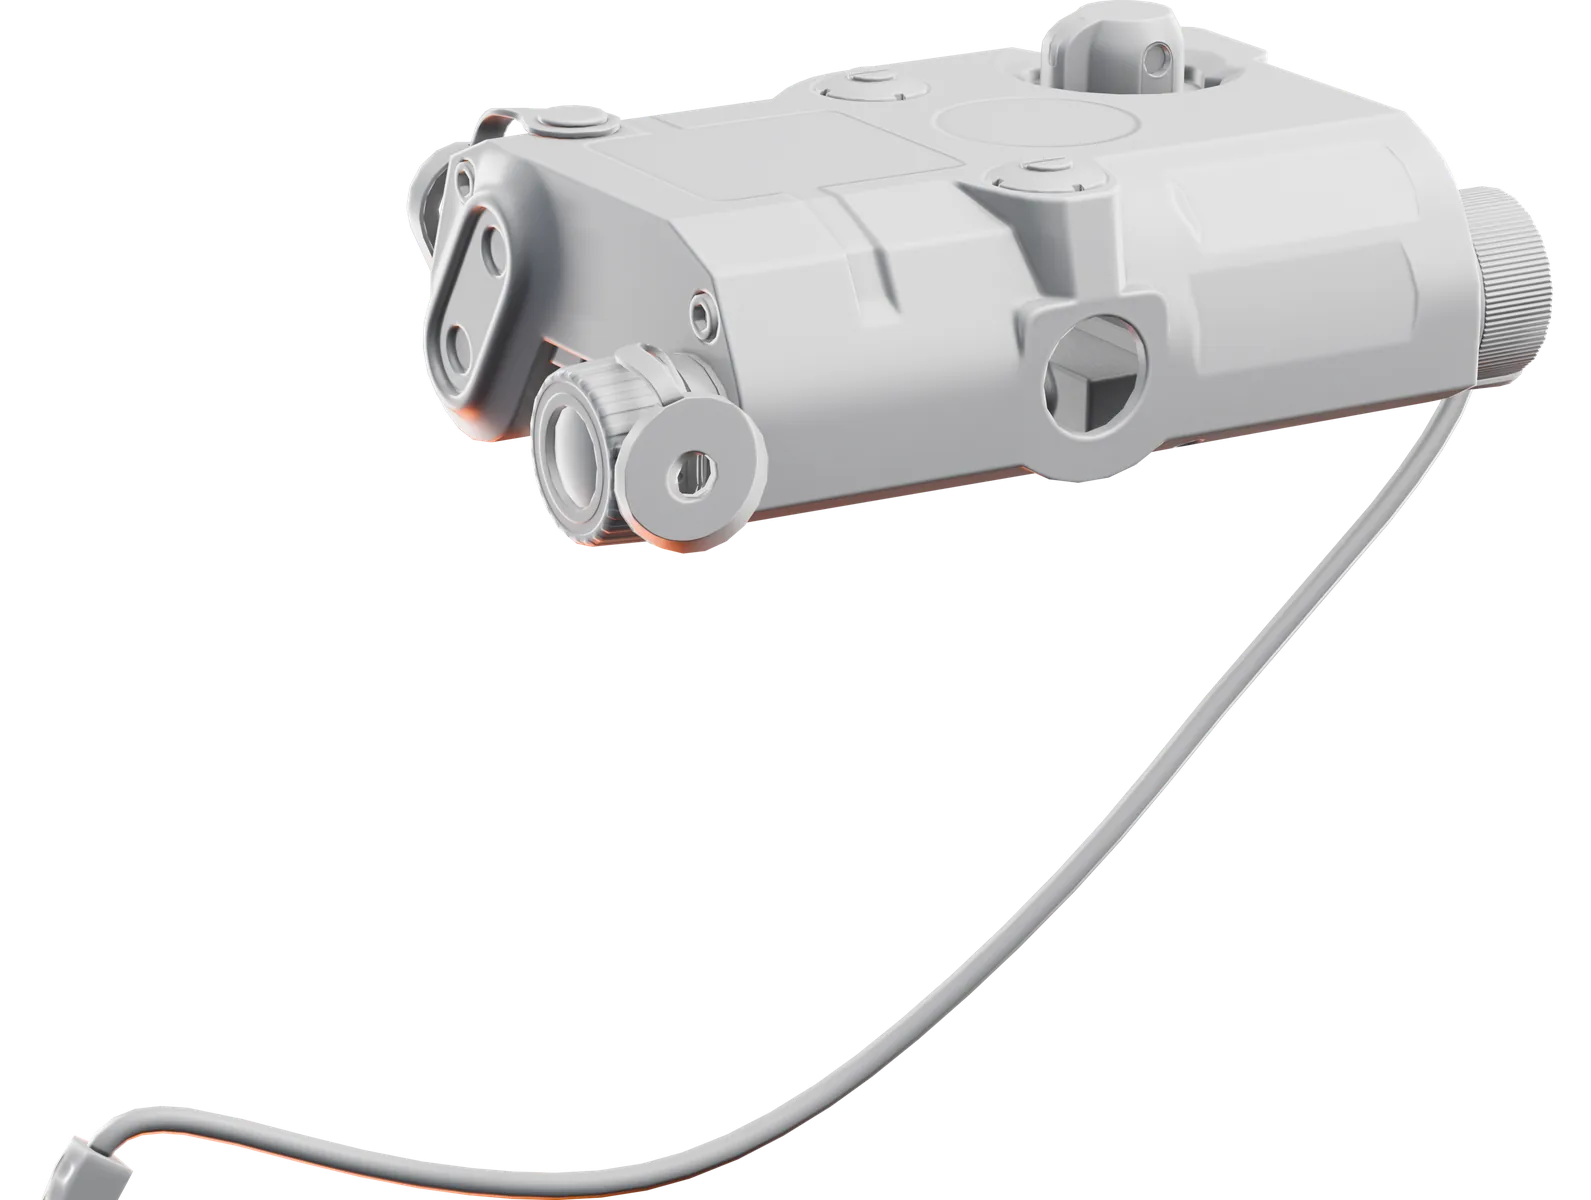
The low poly lit with its baked normal, AO and curvature.
Opacity, the tenth map, is white where the high poly covers the low poly and black where a ray found nothing. For cards that carry hair, leaves or fences. On a solid model like this it is plain white, so it is not shown.
What happens when you press Bake.
Baking moves the surface of a high poly onto the UVs of a low poly. The low poly stays light enough for a game; the maps make it look like the high poly.
On this red dot sight, 483,928 triangles become 4,798.
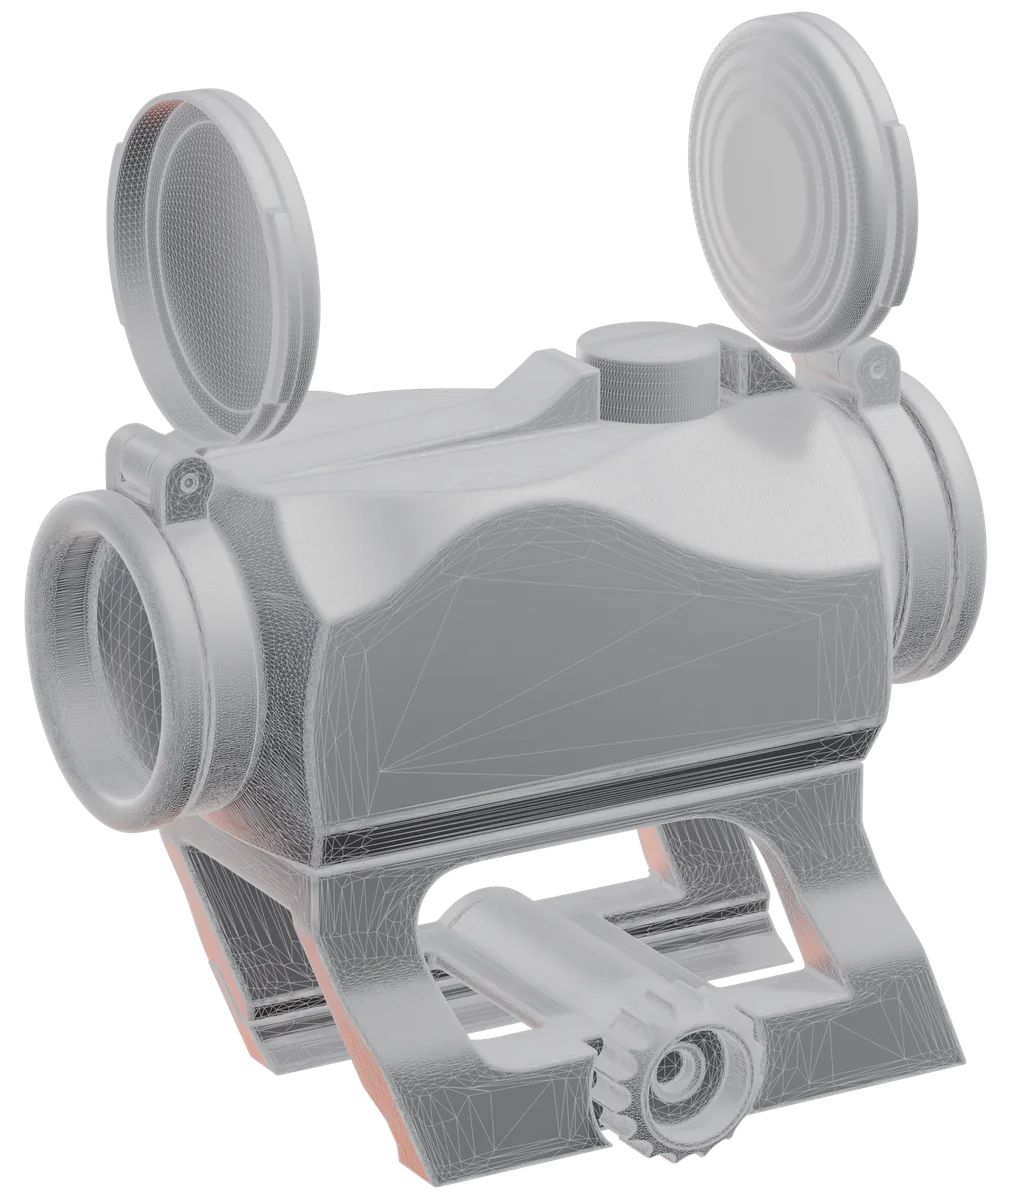
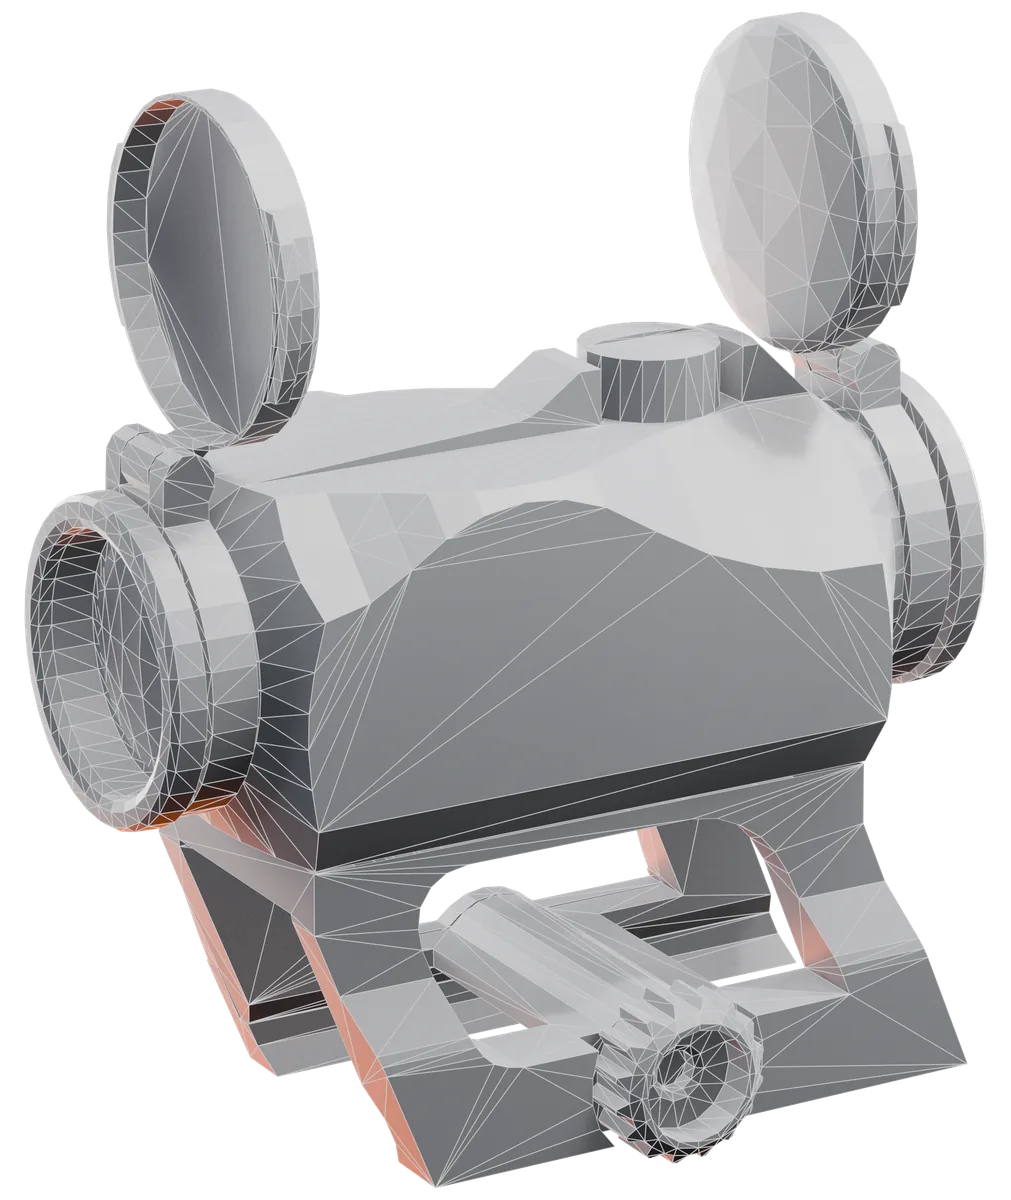
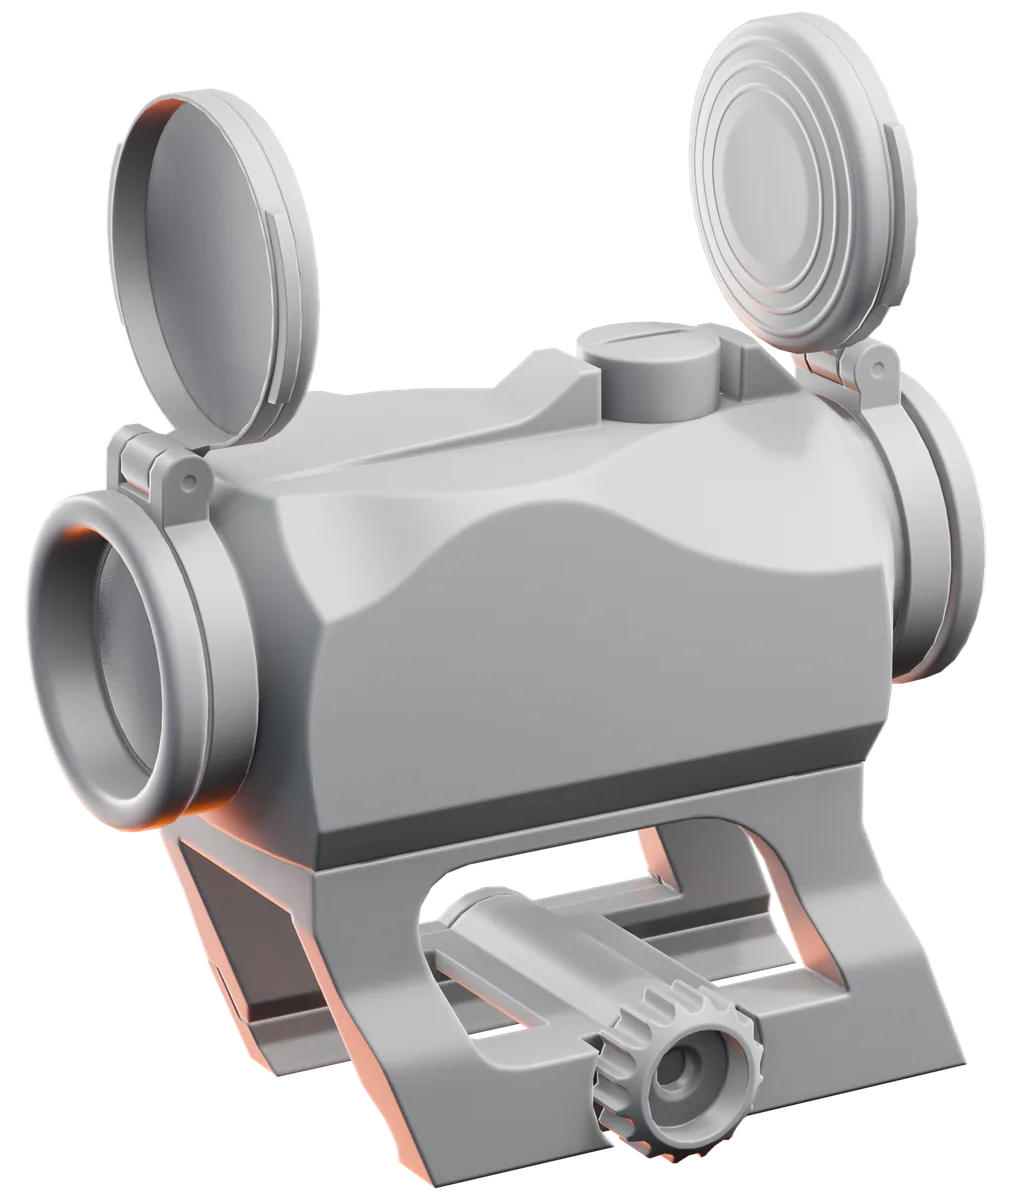
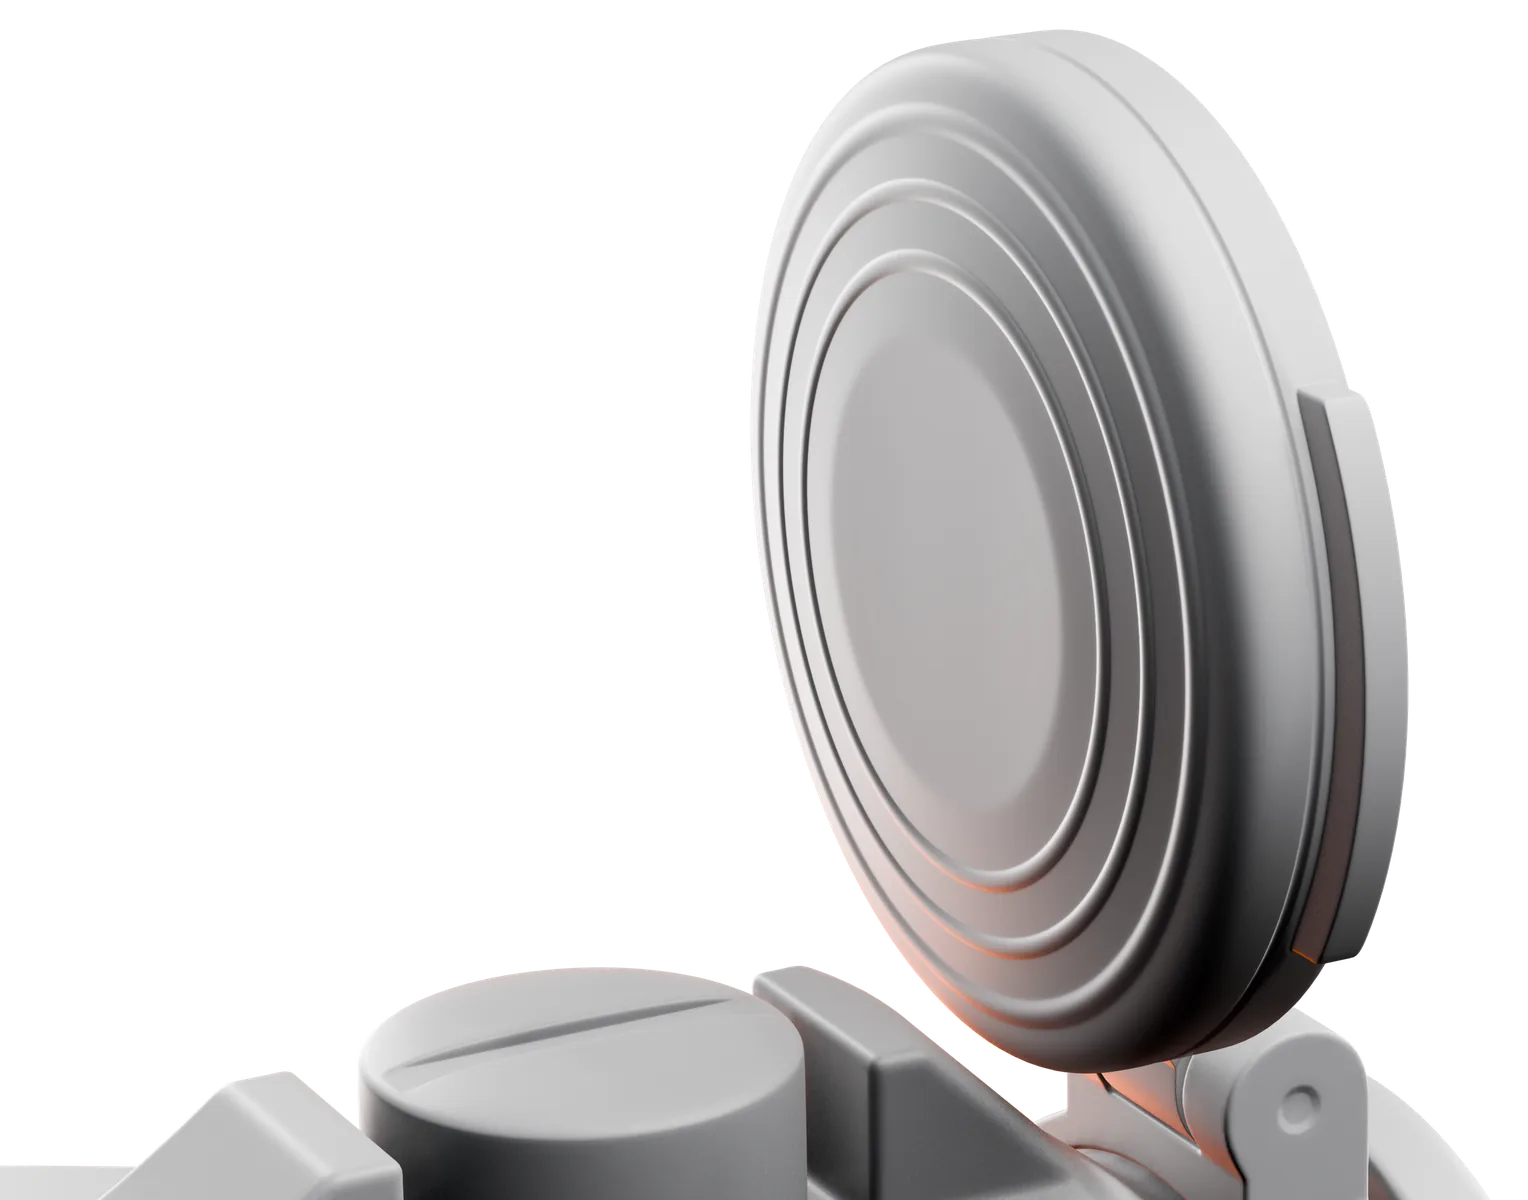
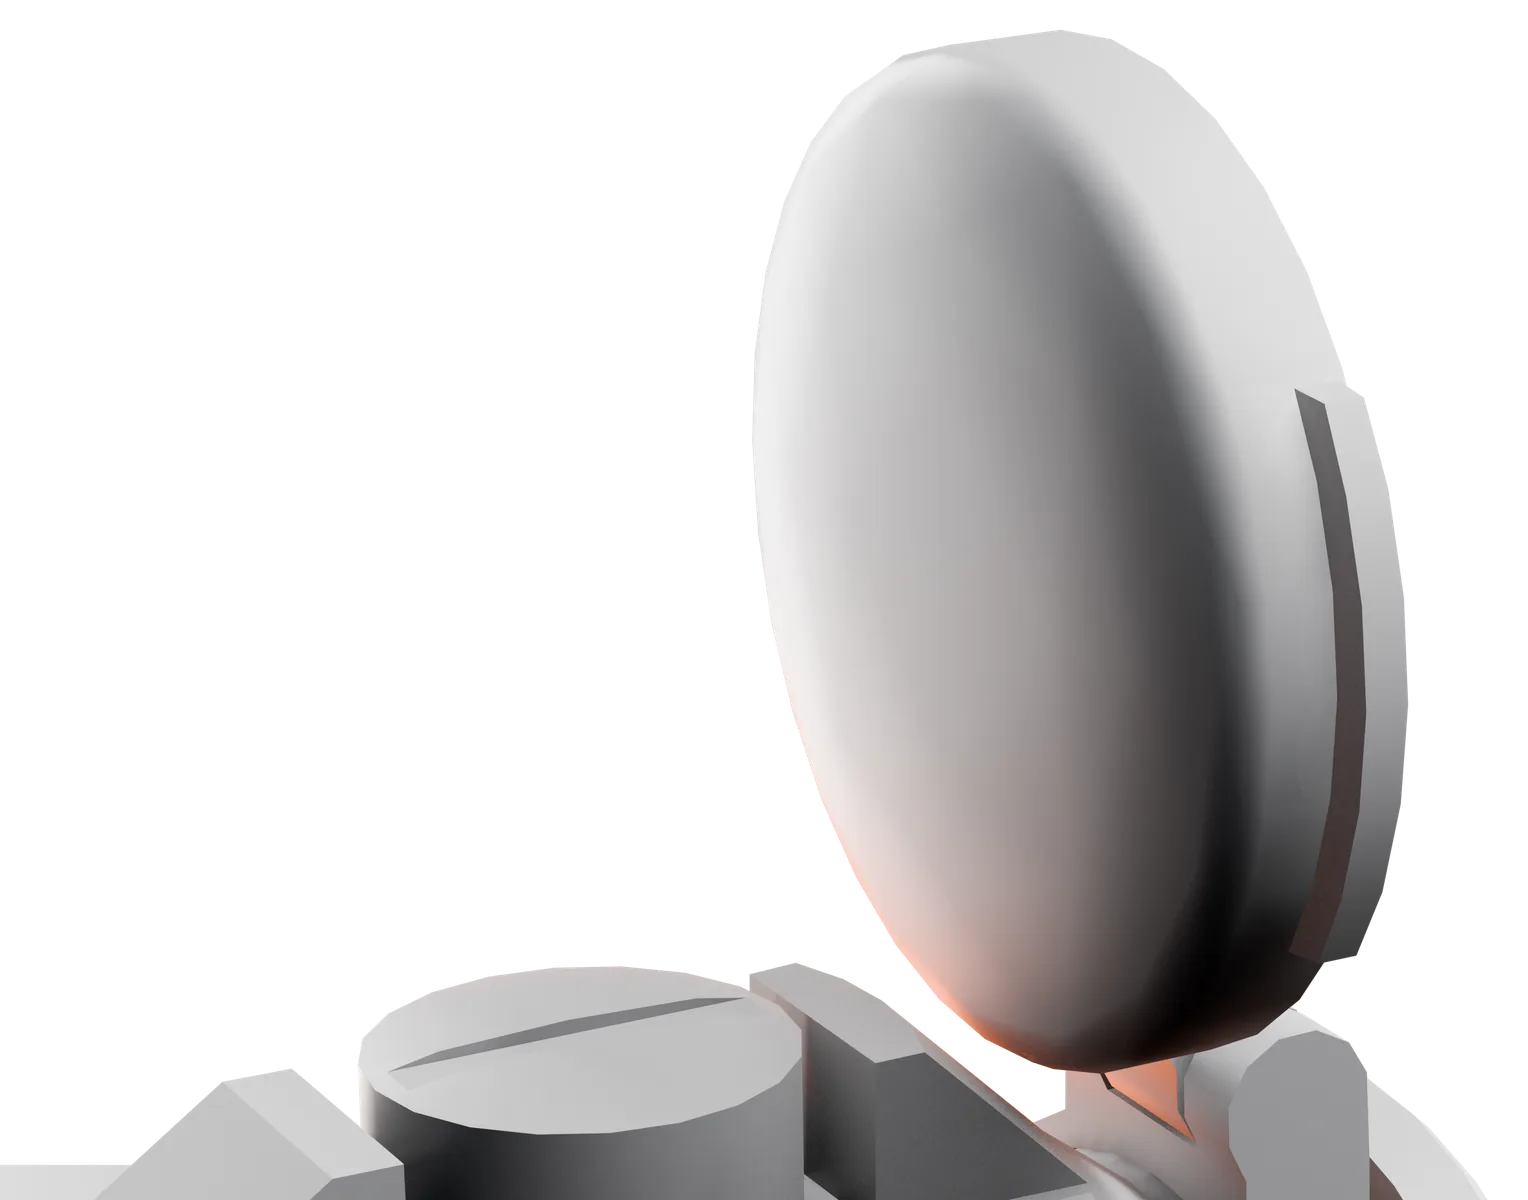
A tangent-space normal map stores, per texel, which way the high poly faces compared with the low poly. Light then reacts to grooves and bevels the low poly does not have.
The sight's lid has no rings in the low poly. They come only from the map.
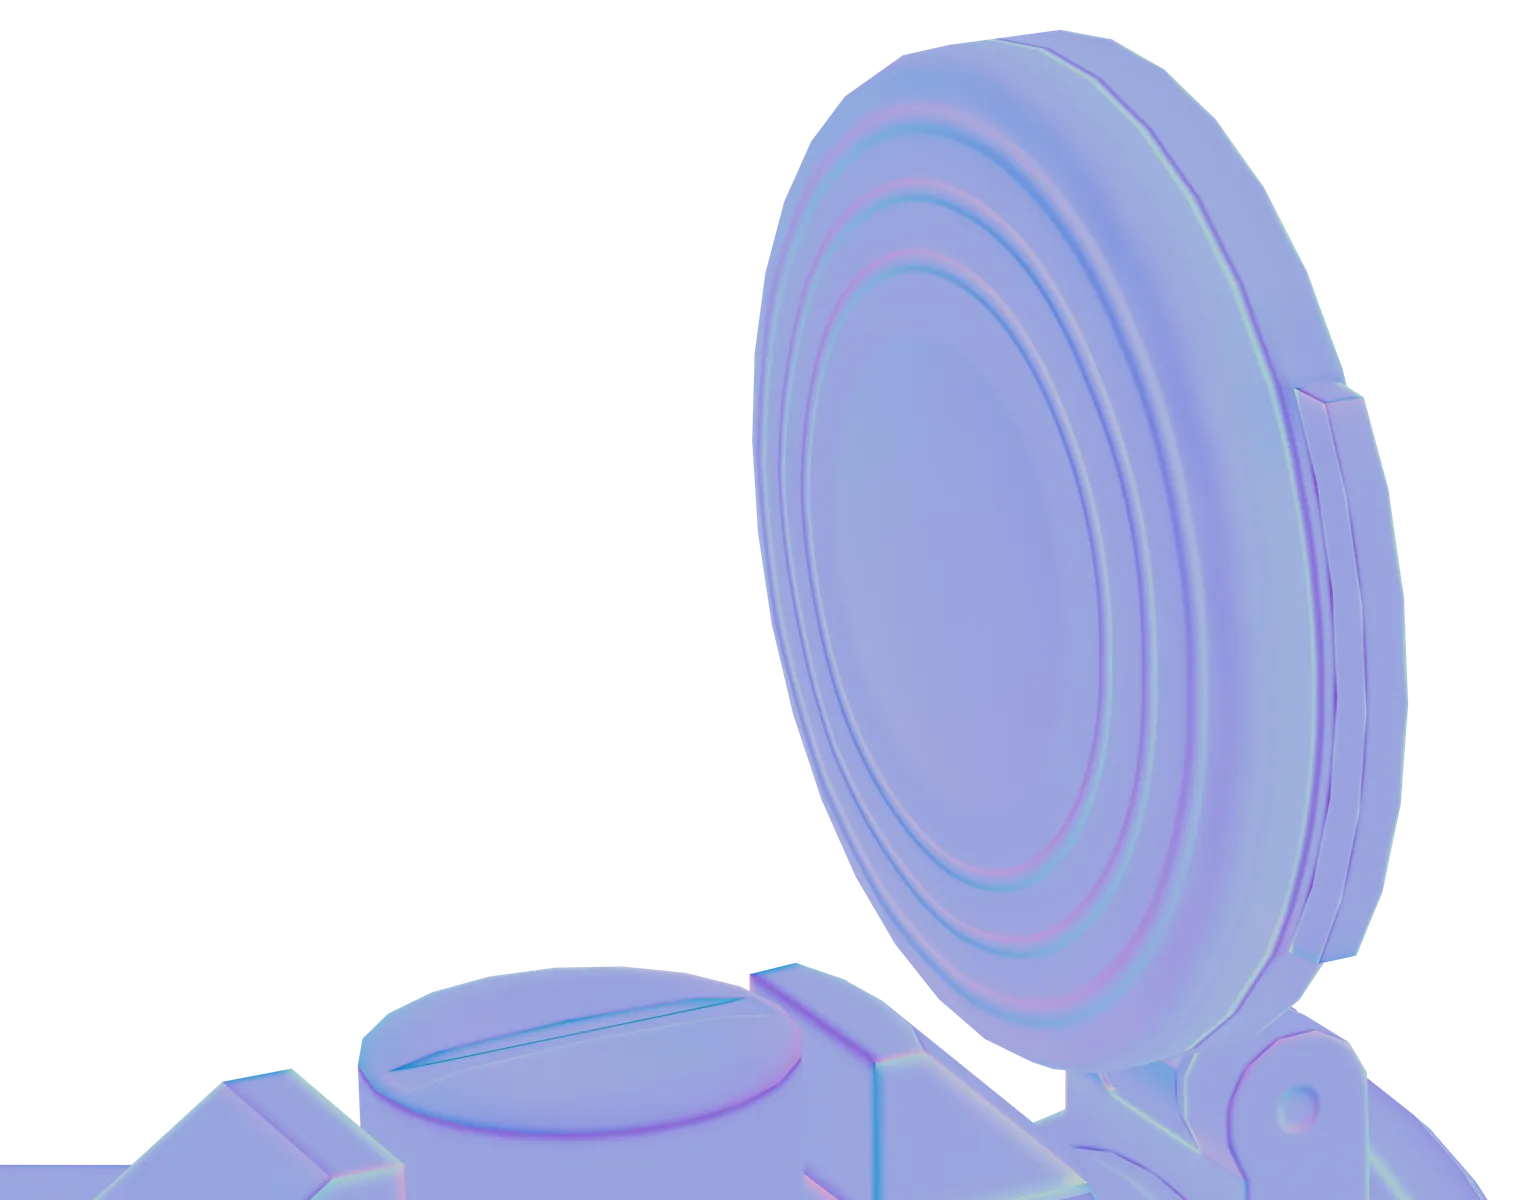
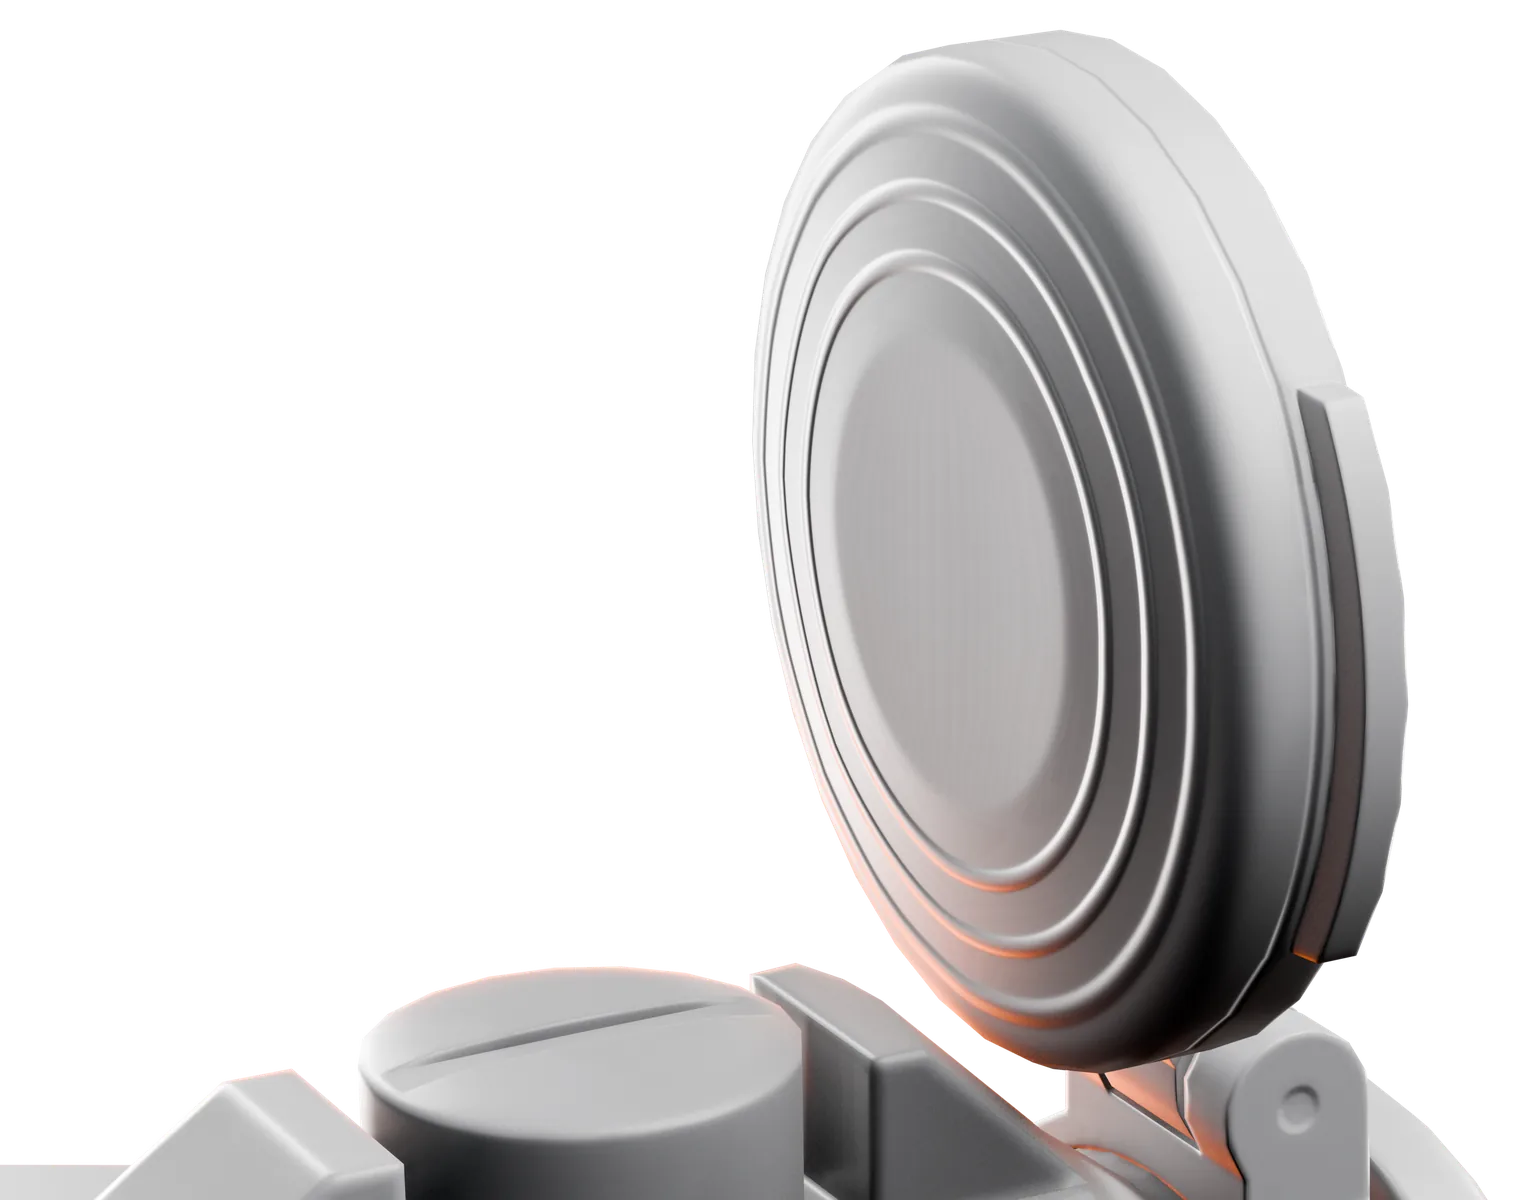
For every texel NexBake casts a ray from the cage, back through the low poly, and keeps the first high poly hit. Too small a cage misses detail further out; too large lets rays reach a neighbouring part.
Show Cage draws the cage over the model; orange marks where the high poly leaves it.
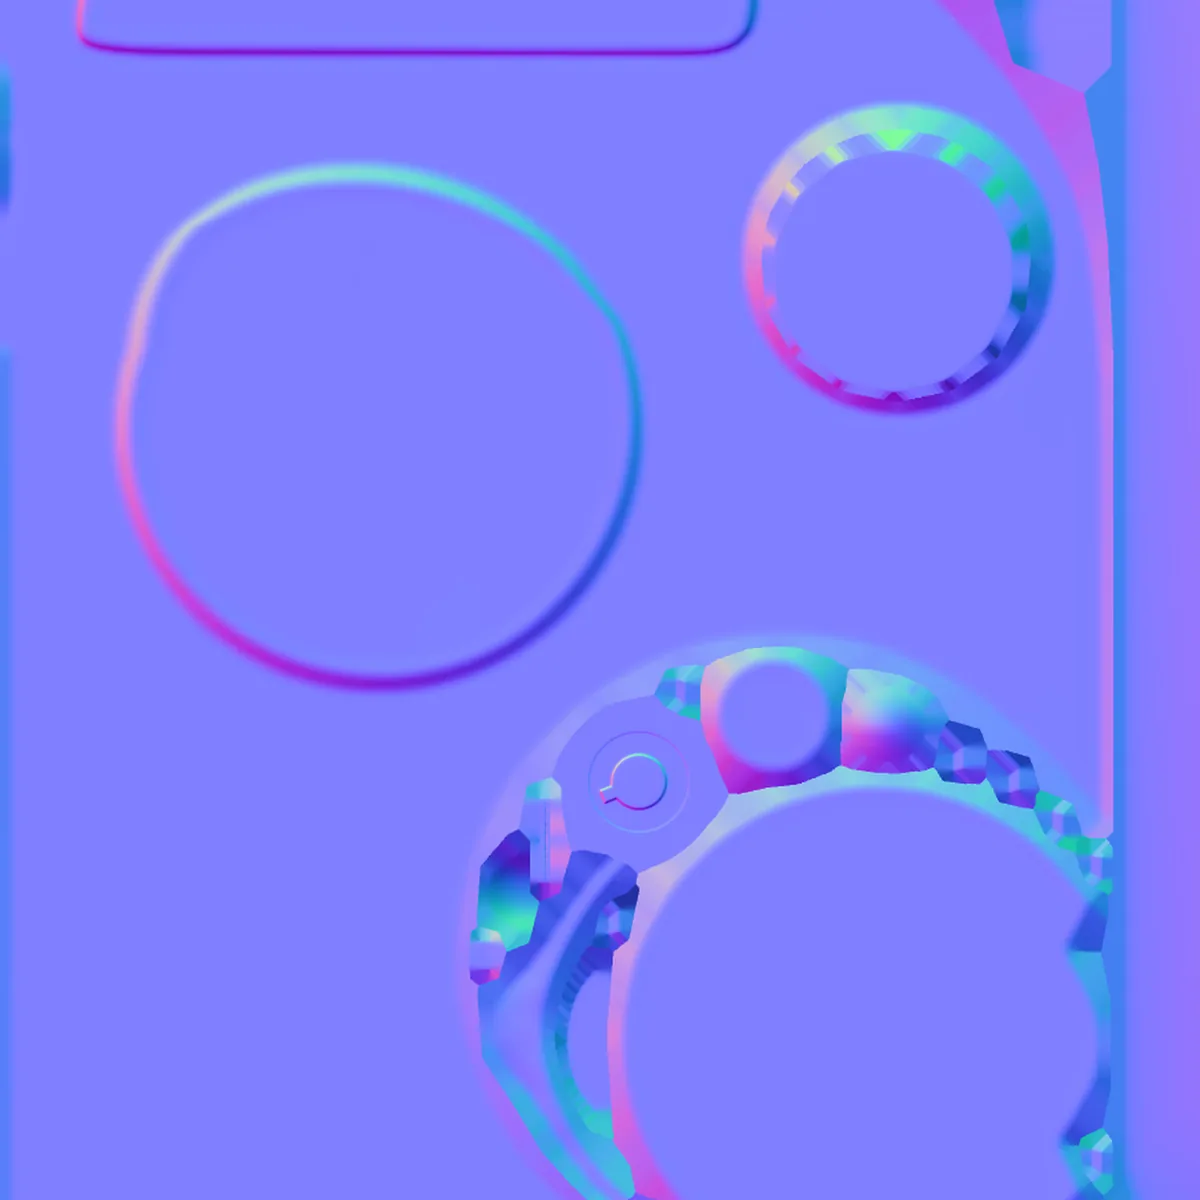
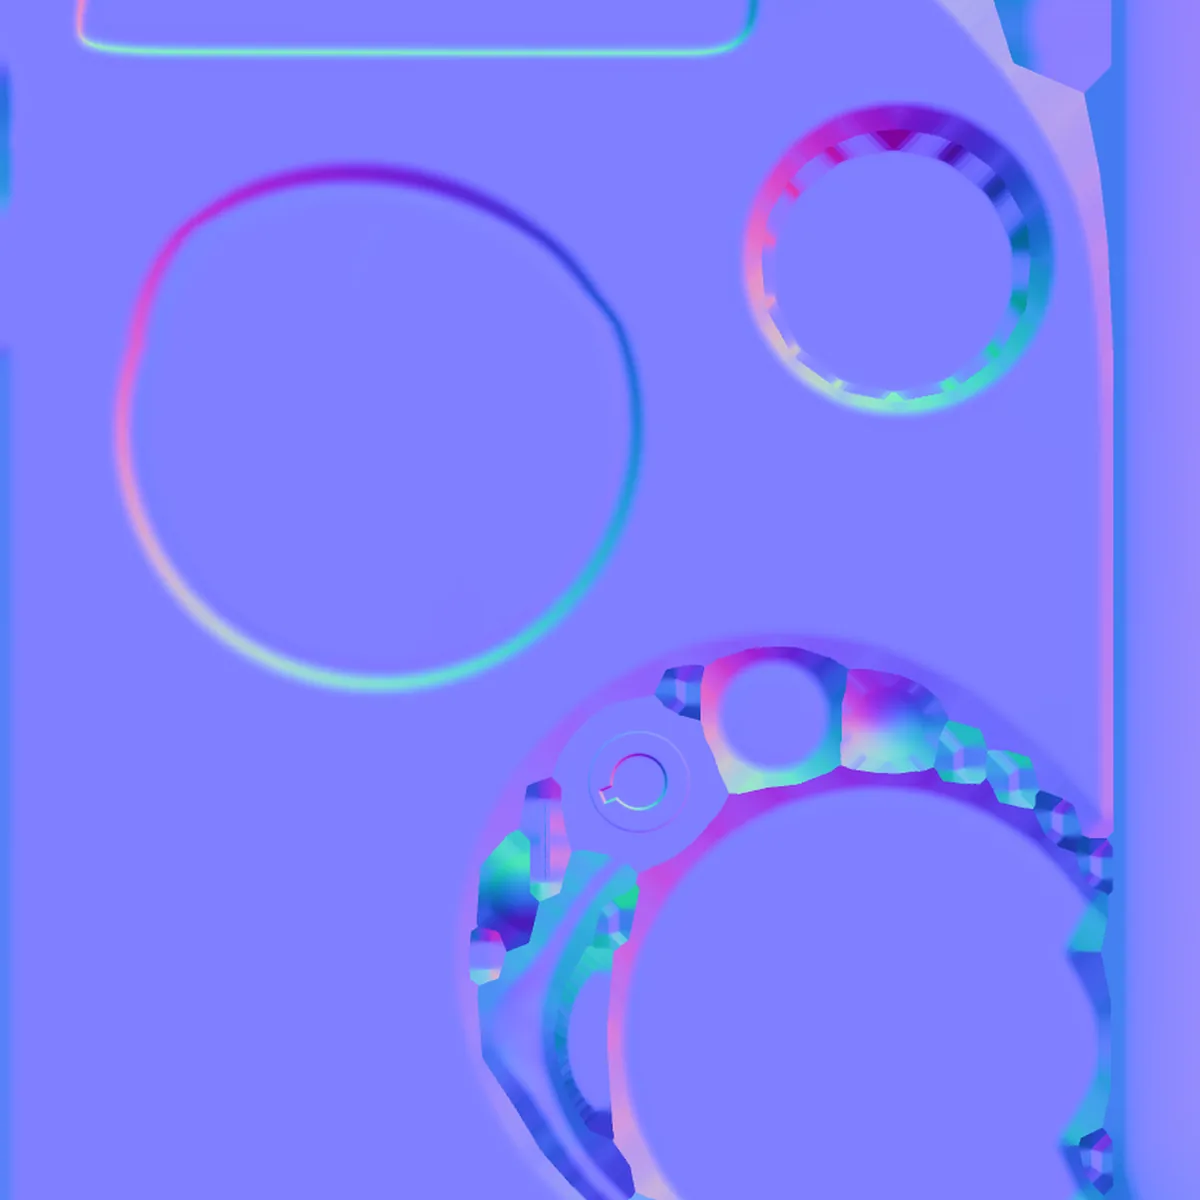
Normal maps come in two conventions. The only difference is the green channel: OpenGL reads green up (Blender, Maya, Unity), DirectX reads green down (Unreal, 3ds Max).
Read with the wrong one, every bevel lights from the wrong side. Set Normal Map Format to match your engine.
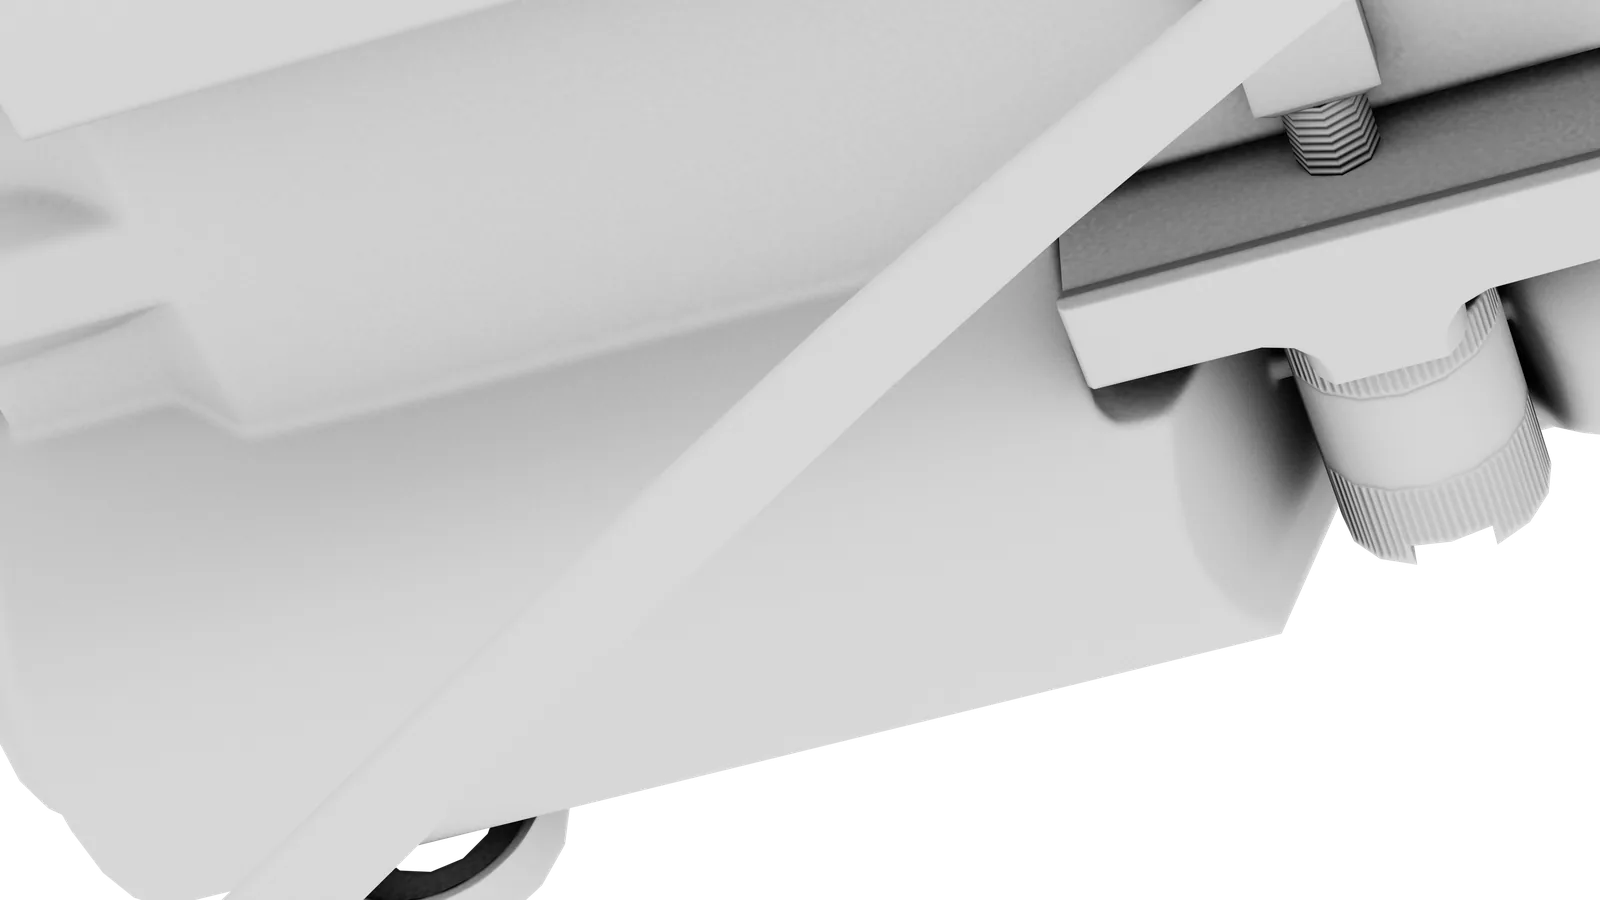
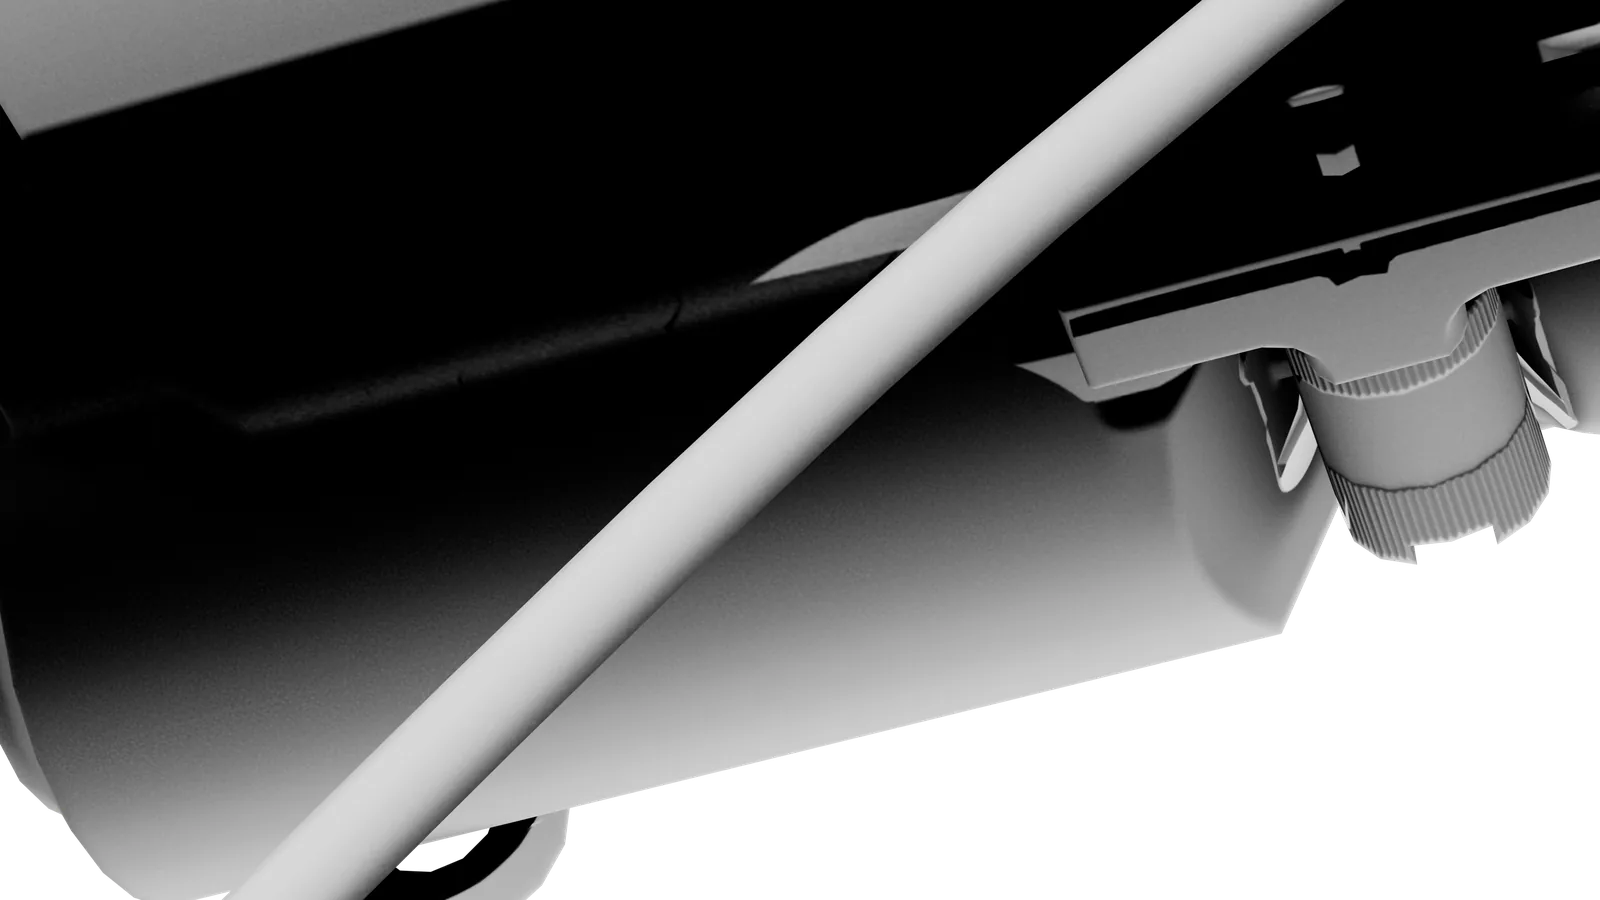
With Match: Always every low poly sees every high poly, so parts that sit close together project onto each other. Here the cable is baked into the body under it as a black shadow.
By Mesh Name keeps each part to its own high poly, with nothing exploded apart.
The settings that matter most, and what they change.
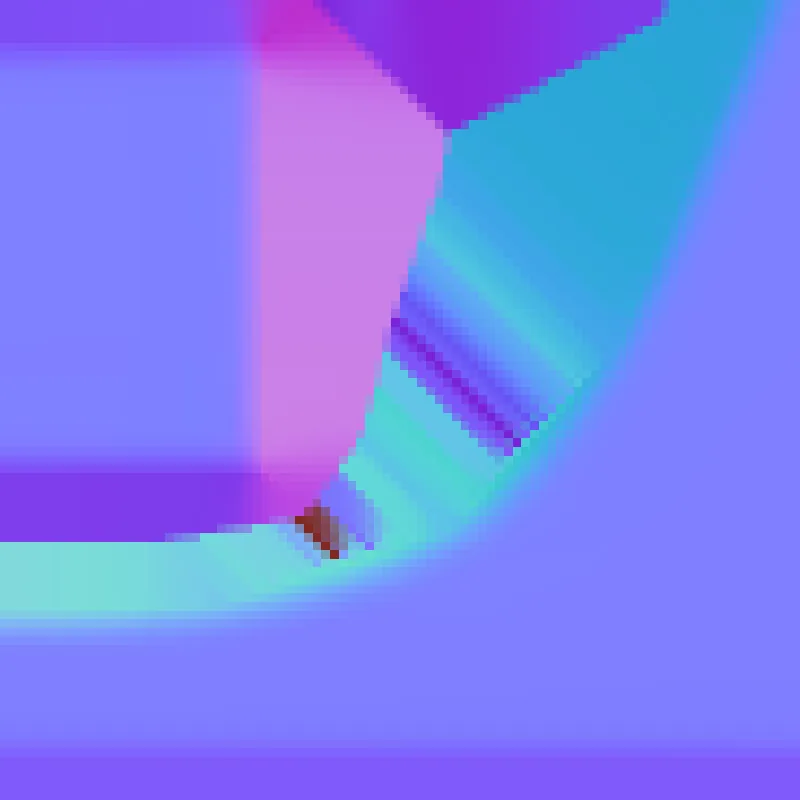
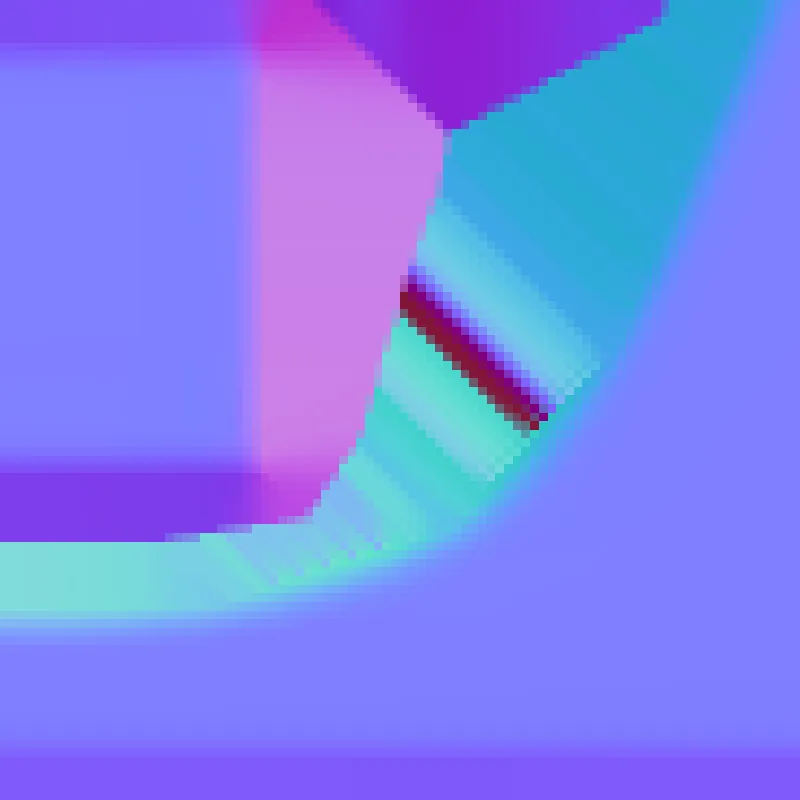
Several samples per texel, averaged. It matters where a sharp edge crosses the texel grid: without it a groove turns into a hard, broken stripe.
Subsampling 4×4 is a good default; 8×8 for final bakes.
A detail needs a few texels to show. If it is thinner than a texel, it blurs away; raise Output Size or give the part more UV space.
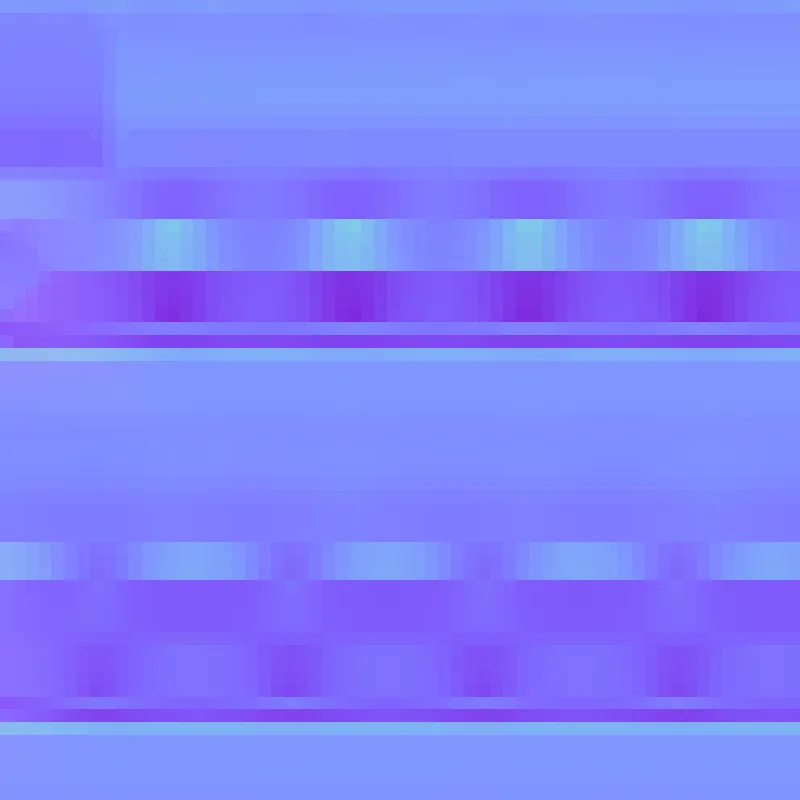 1K
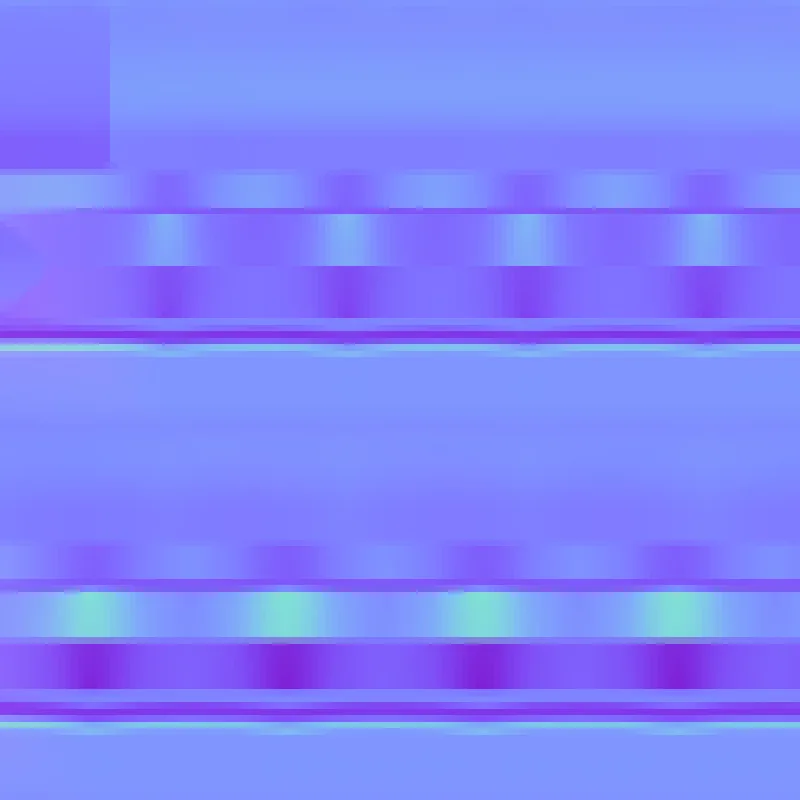 2K
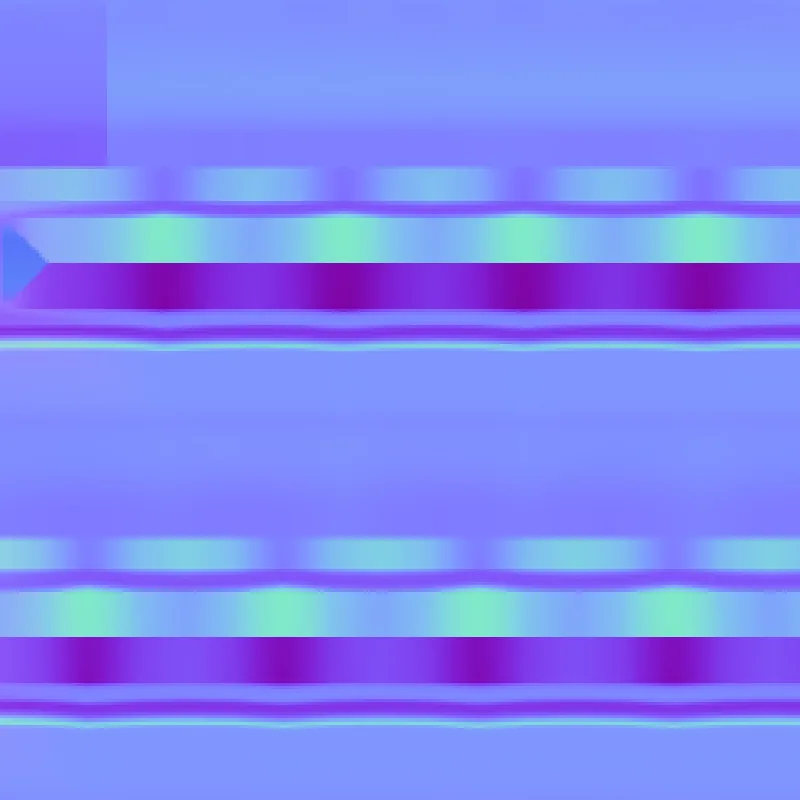 4K
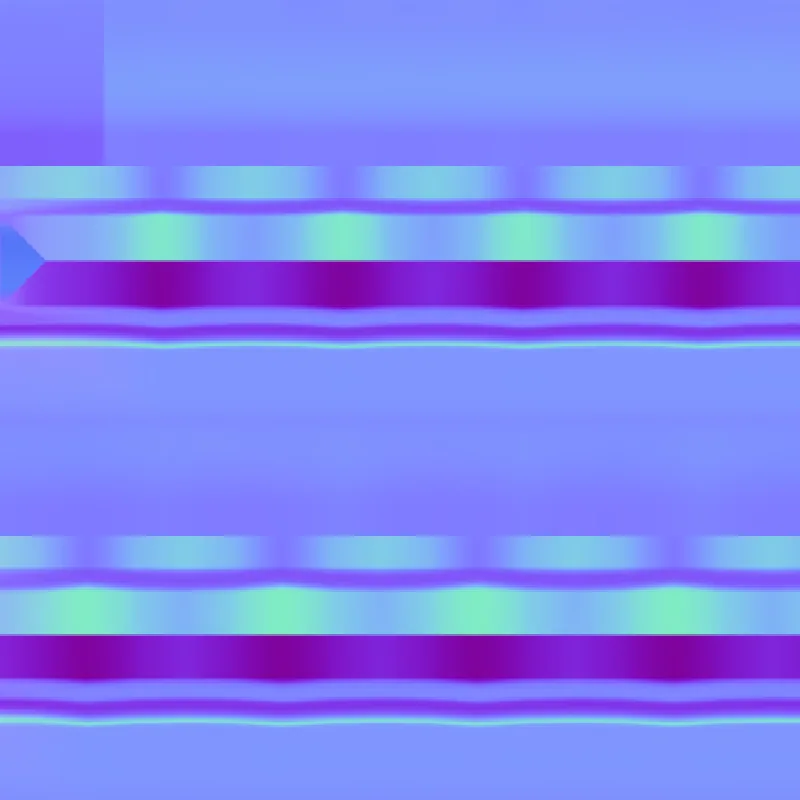 8K
Mipmaps blend neighbouring texels. If the space around a UV island is empty, its edge turns dark from far away. Dilation Width grows every island outward to stop that.
At export, Padding decides what fills the rest: Average (default), Infinite, Diffusion, Flat Color, Transparent or None.
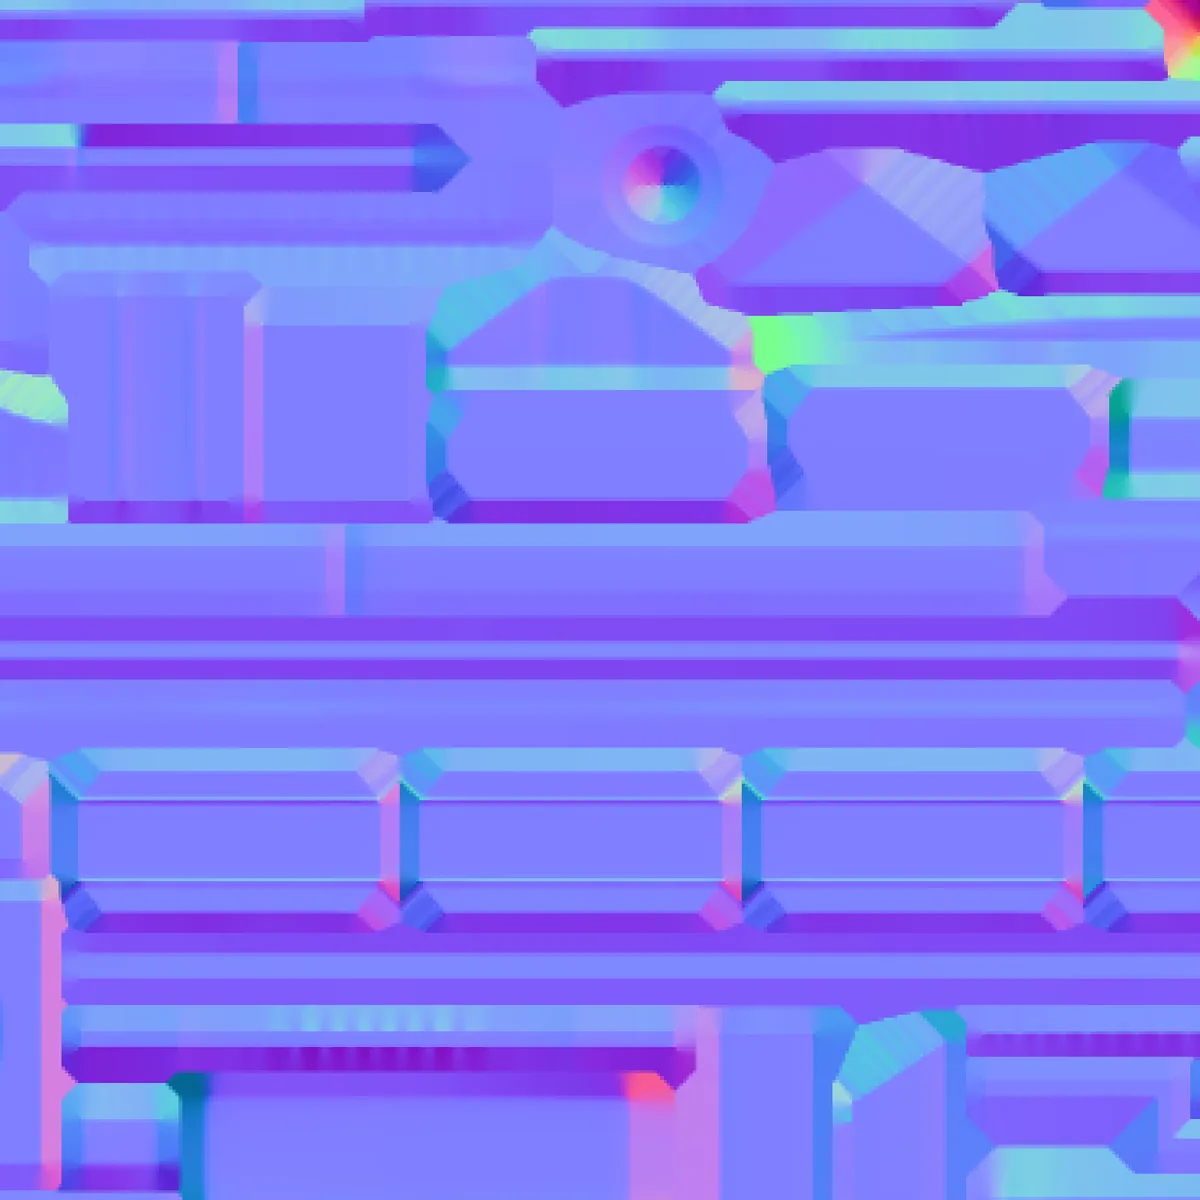
More Secondary Rays, less noise. 64 is the default; past that the map changes little.
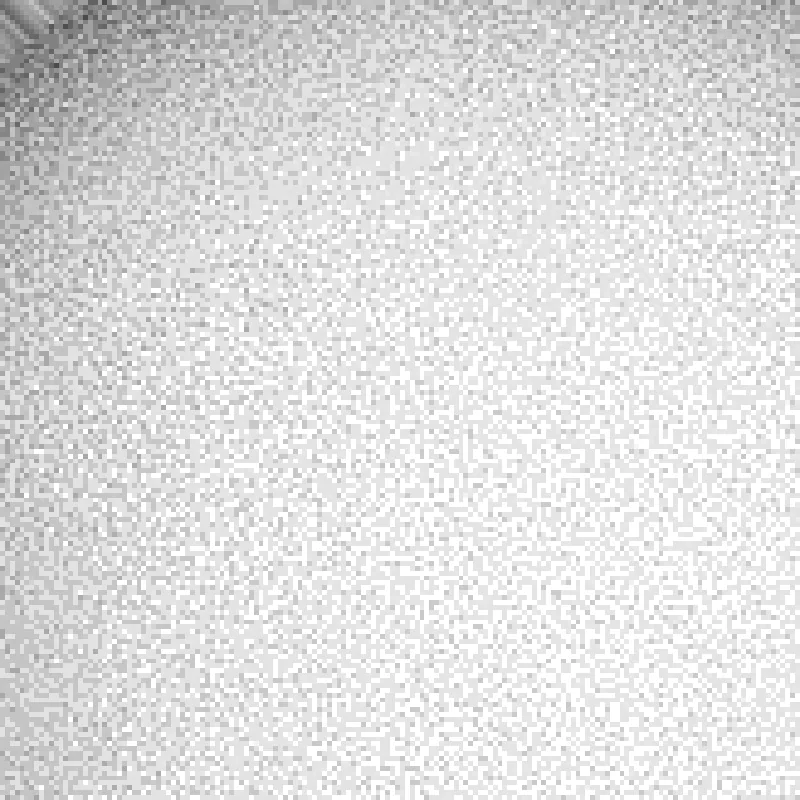 8 rays
 64 rays
 256 rays
After a bake, NexBake counts the texels whose rays found no high poly, and warns you with the number. Most of the time the cage is too small: raise Max Frontal Distance and Max Rear Distance and look for orange with Show Cage.
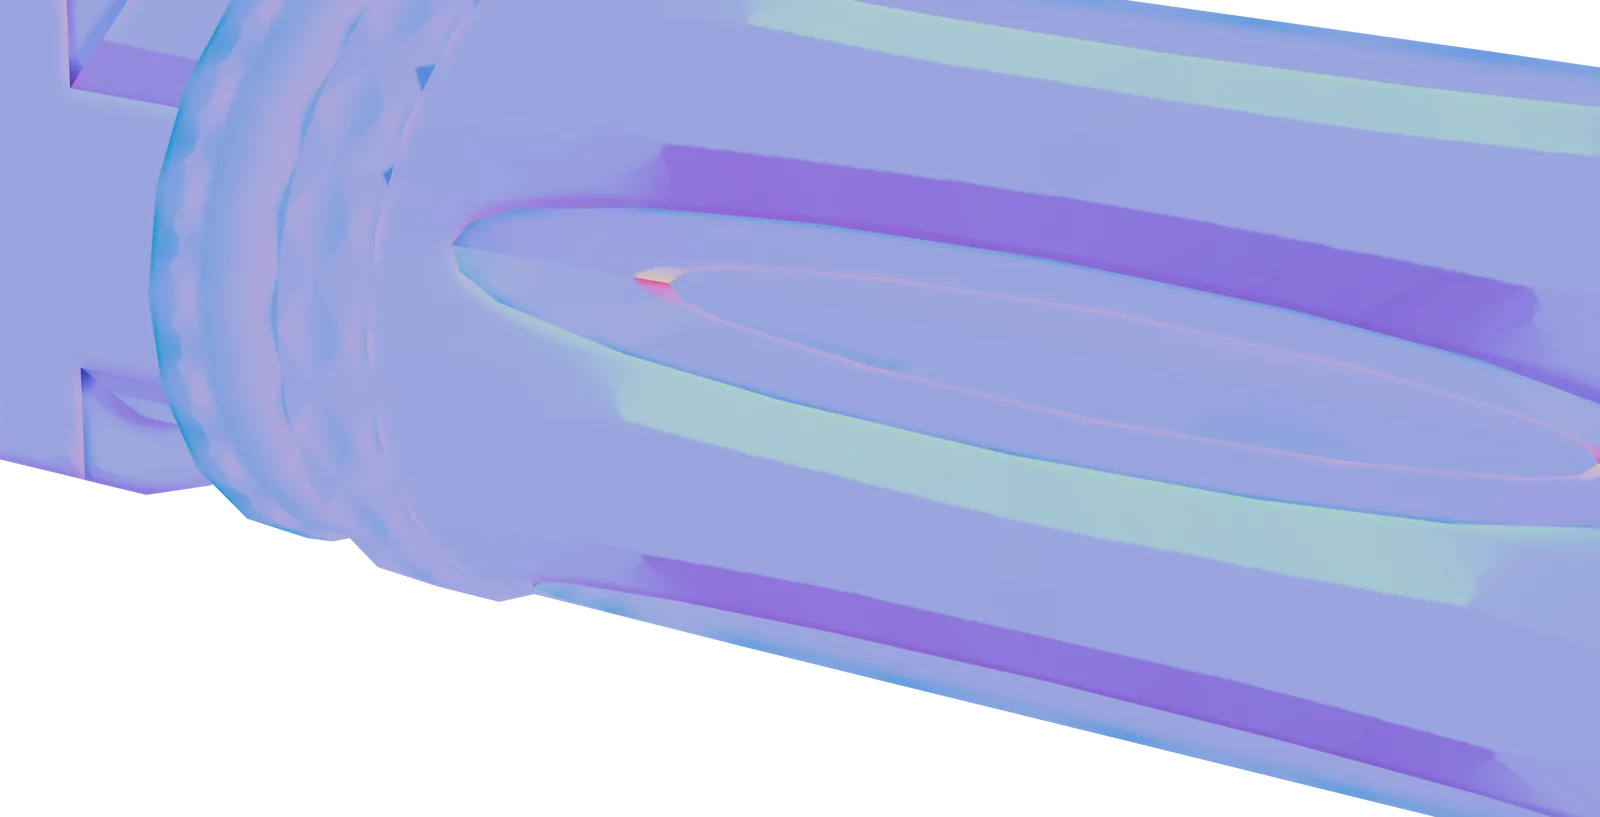
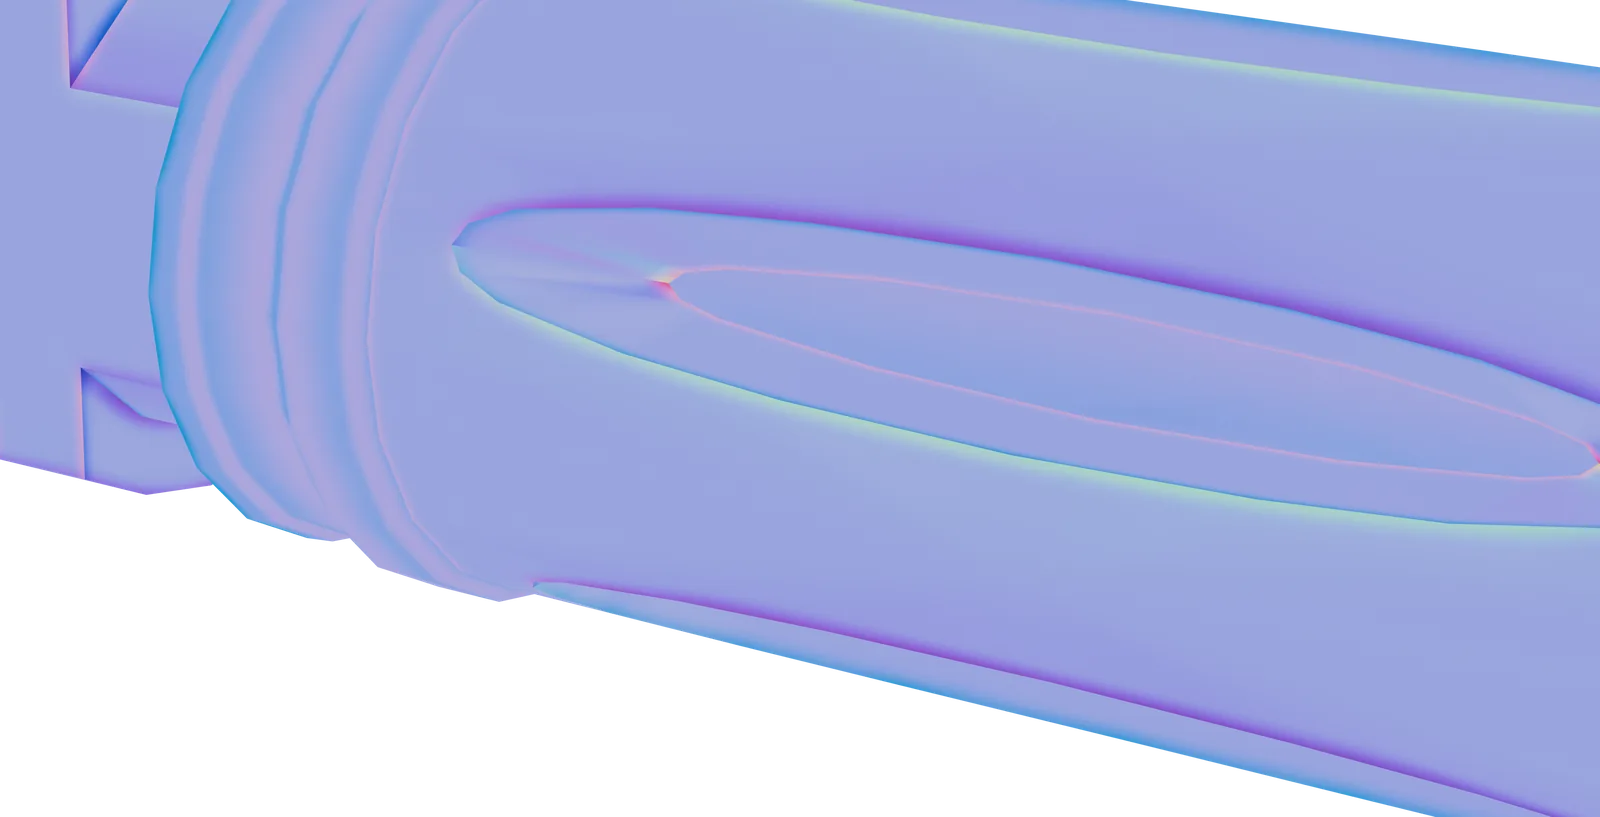
Make edges sharper than about 90° hard, and cut the UVs along every hard edge so each side gets its own pixels. Keep round shapes smooth.
Export the low poly with the same normals you baked with. If your engine splits quads its own way, triangulate the low poly before you bake.
The same part, the same 4096 px, the same cage, the same GPU (RTX 3080). Blender's baker (Cycles, Selected to Active) has no match by name, so neighbouring parts project into each other: the yellow and green patches.
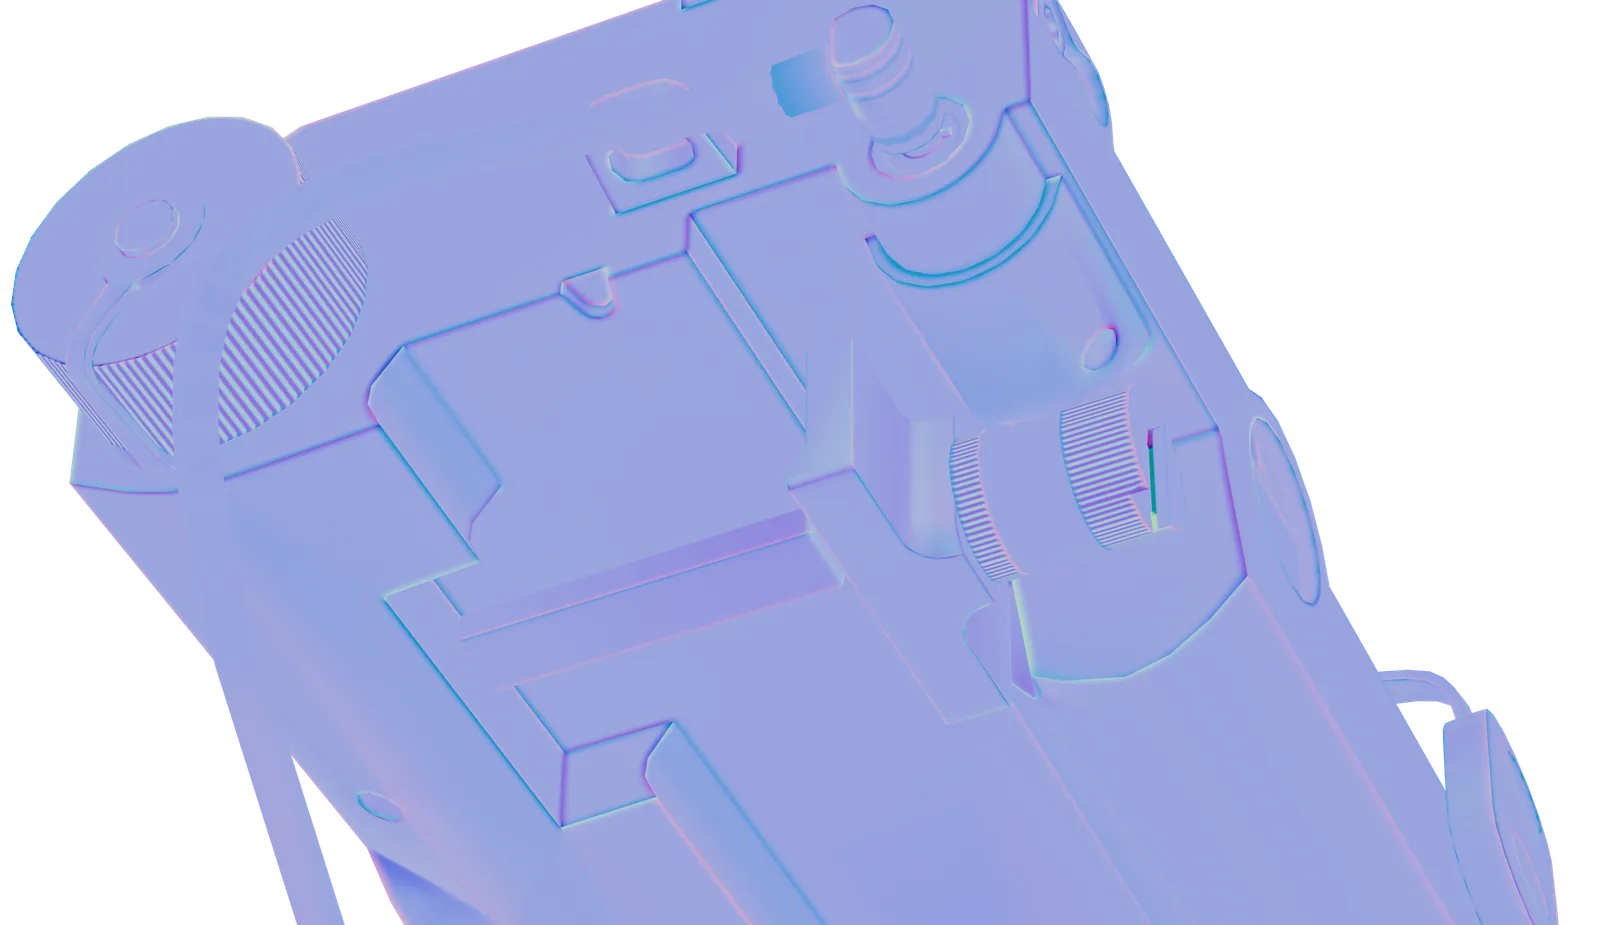
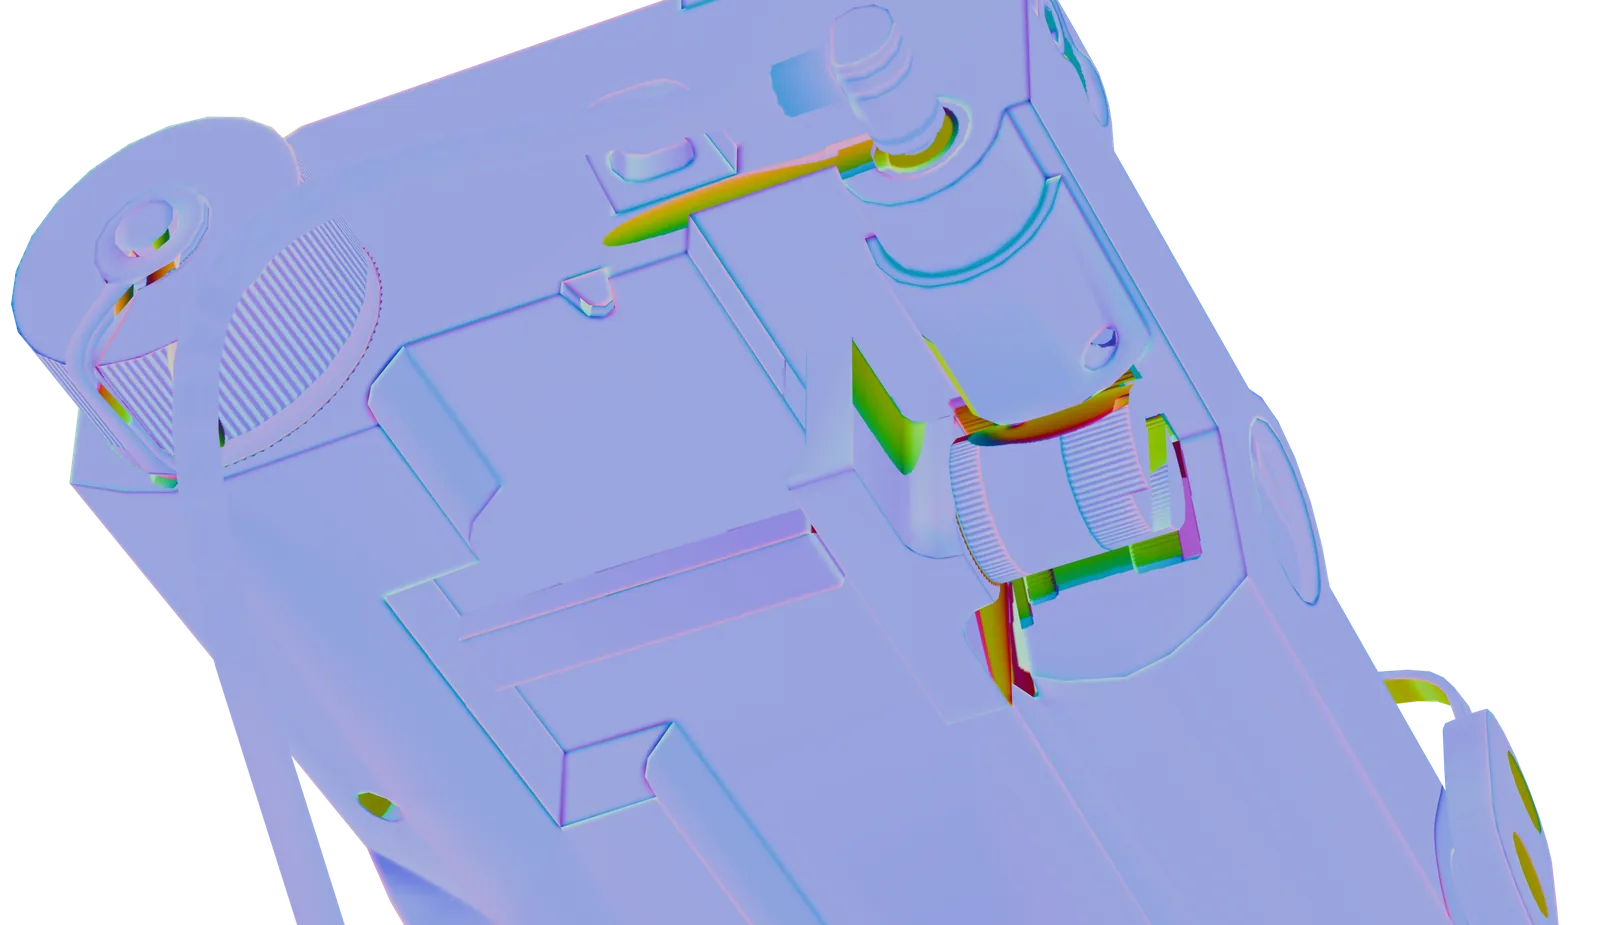
| 4096 px · normal + AO | Normal | Ambient occlusion | Total |
|---|---|---|---|
| Laser · 26 parts | |||
| Blender Cycles (16 / 128 samples, OptiX) | 130.43 s | 143.22 s | 273.65 s |
| NexBake (AA 4×4, 64 AO rays) | one job: both maps | 5.70 s | |
| MainBody · 25 parts | |||
| Blender Cycles (16 / 128 samples, OptiX) | 78.60 s | 88.21 s | 166.81 s |
| NexBake (AA 4×4, 64 AO rays) | one job: both maps | 4.27 s | |
Wall-clock times from the logs, run one after the other on an idle GPU.
NexBake for Blender. Every map on this page, in one job.